Practical Steps to Delete Kubernetes Pods
If you are using Kubernetes to deploy containerized applications, you would probably have to delete pods from one or more worker nodes for various reasons, such as debugging node issues, upgrading nodes, or removing nodes from your cluster.
With the kubectl commands, deleting one or more Kubernetes pods from a node is a straightforward process. In this article, let's look at how to delete pods in practice.
Delete Kubernetes Pods
Delete a specific pod
When you want to delete a specific pod, you should make sure that you make the deletion on the node where the pod runs.
-
Run the following command to obtain the node names.
kubectl get nodes -
Once you confirm the node name, run the following command to list all the pods running on that node to identify the pod to be deleted.
kubectl get pods -o wide | grep <node name> -
Once you confirm the name of the pod, run the following command to delete it.
kubectl delete pods <pod name> -
(Optional) If the pod gets stuck in the state of
terminating, you need to run the following command to forcefully delete the pod. If you are using any version of kubectl <= 1.4, you should omit the--forceoption.kubectl delete pods <pod name> --grace-period=0 --forceNote
If the pod is stuck onunknownstate, run the commandkubectl patch pod <pod> -p '{"metadata":{"finalizers":null}}'to remove it from the cluster. When you try to delete StatefulSet pods, beware of the potential risks. For more information, check out the Kubernetes documentation.
Delete existing pods on a node
When you want to delete all the existing pods on a node, you have to make sure that you make such deletion in an appropriate timing to avoid potential impact on your services.
-
Run the following command to obtain the node names.
kubectl get nodes -
Once you confirm the node name, run the following command to list all the pods running on that node to double-check that all the existing pods can be deleted.
kubectl get pods -o wide | grep <node name> -
Run the following command to stop scheduling pod to that node.
kubectl cordon <node name> -
Run the following command to evict all the existing pod from that node.
kubectl drain <node name> --ignore-daemonsets --delete-emptydir-data -
Once you are ready to bring that node back for pod scheduling, run the following command to resume scheduling new pods onto that node.
kubectl uncordon <node name>
Delete Kubernetes pods on KubeSphere
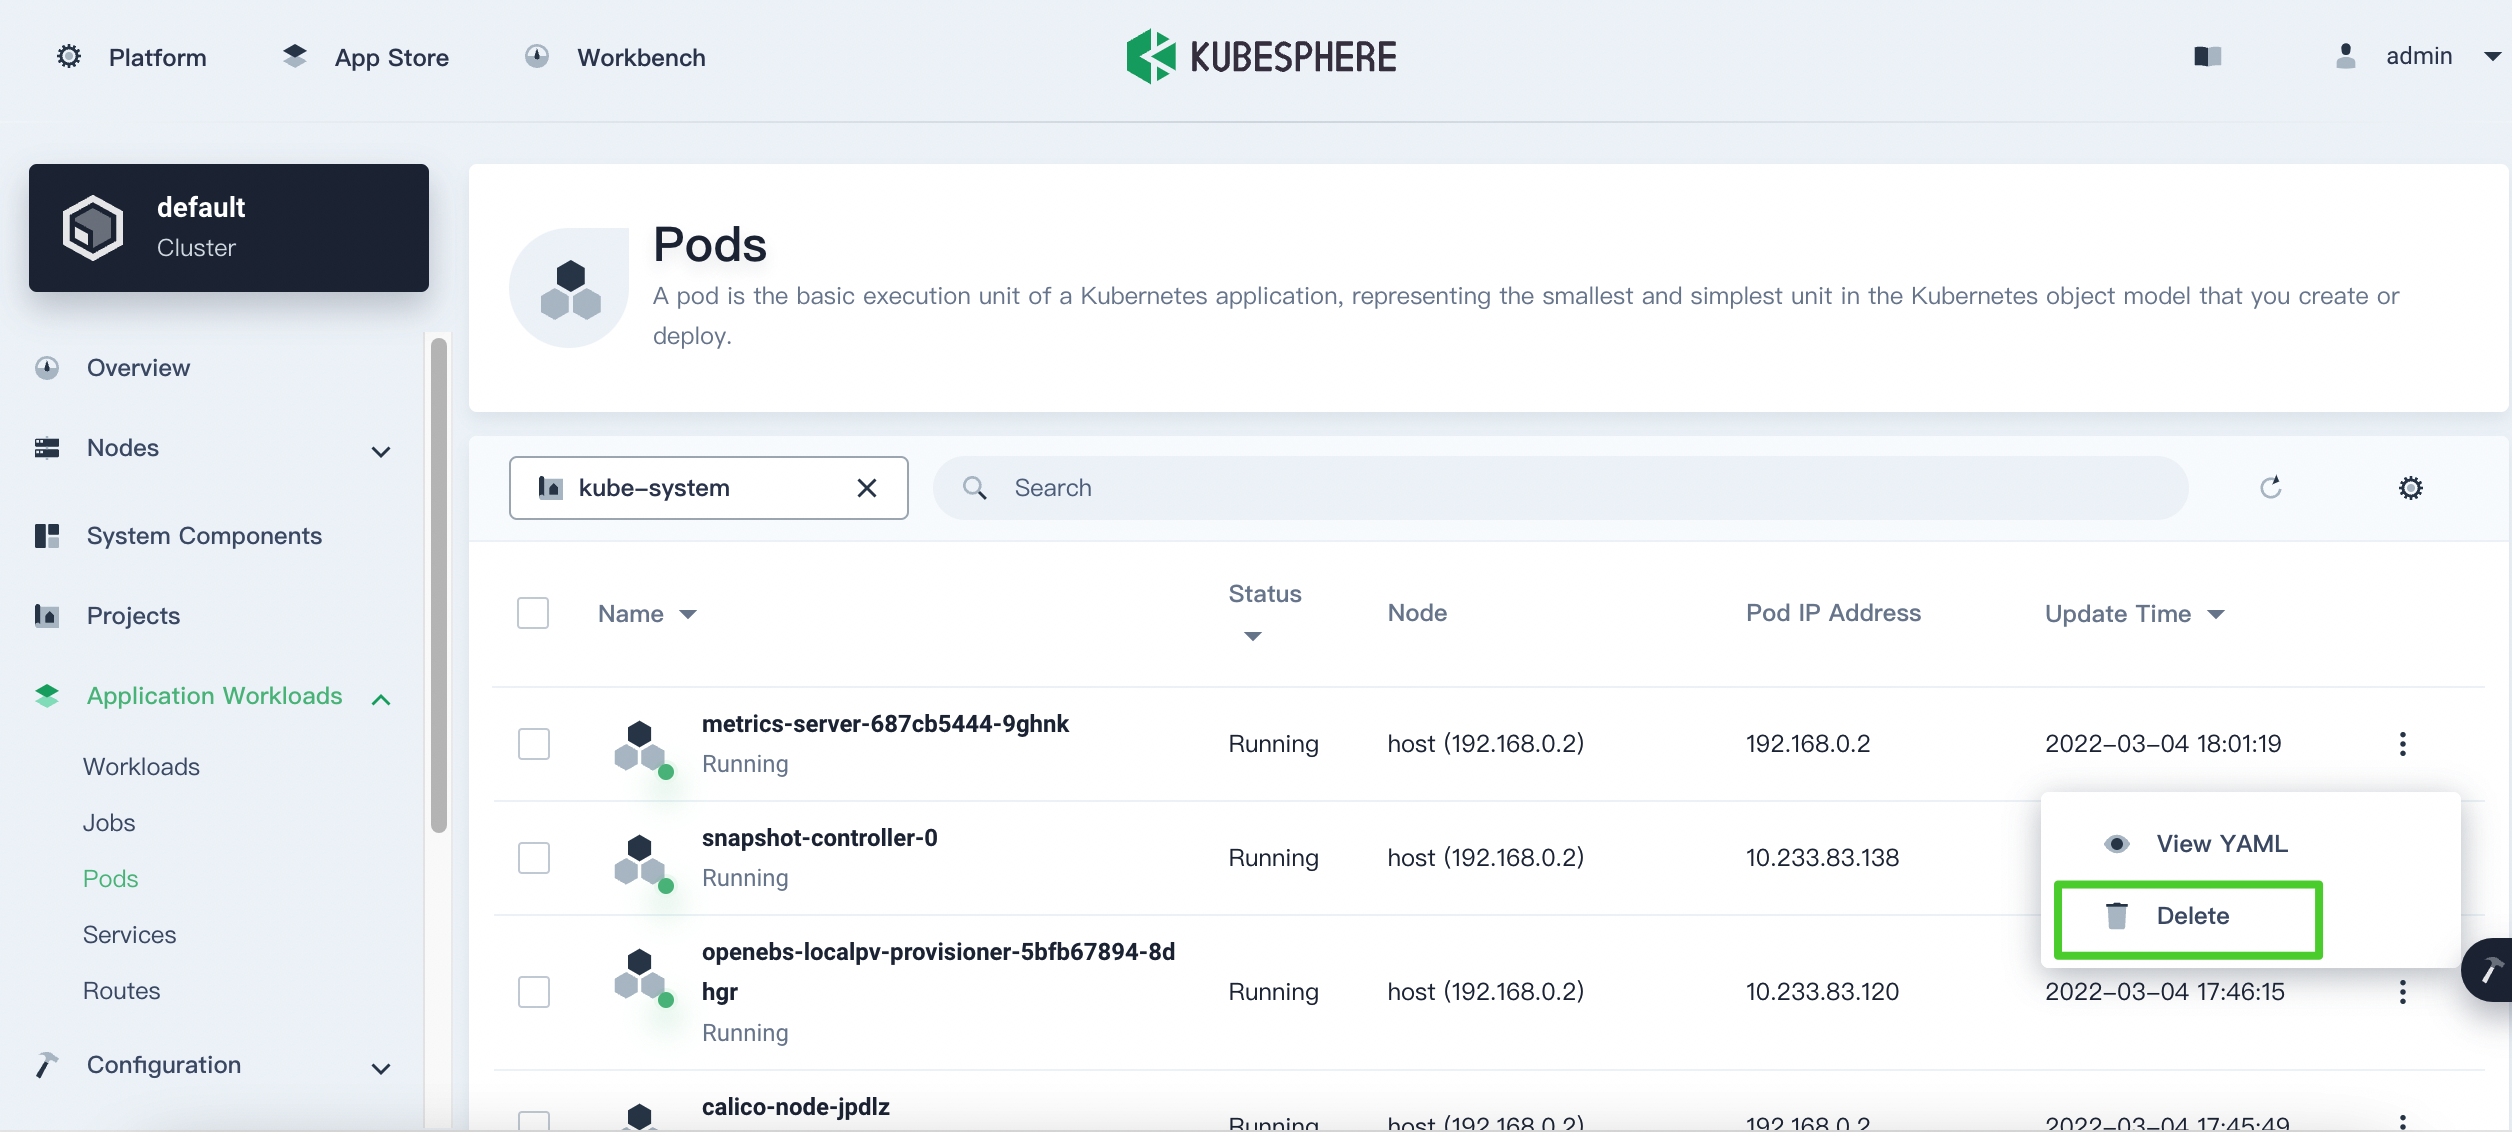
As an open-source project, KubeSphere is a distributed operating system built on Kubernetes. It provides a user-friendly wizard web console to improve efficiency in Kubernetes management. To delete Kubernetes pods on KubeSphere, you just need to click several buttons and it's done!

Recap
Although deleting Kubernetes pods is a simple process, we still have to be careful when implementing such deletions in practice to avoid potential impact on our services. It would be better if we acquaint ourselves with different Kubernetes workloads, such as Deployment and StatefulSet, rather than dealing with pods directly.


