
Kubernetes Backup and Restore with Kasten K10 on KubeSphere
Kasten on KubeSphere
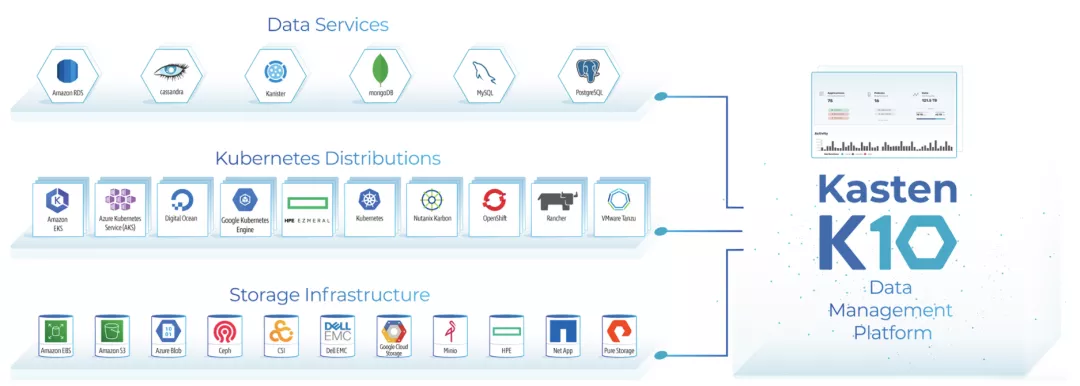
Purpose-built for Kubernetes, Kasten 10 provides enterprise operations teams an easy-to-use, scalable, and secure system for backup/restore, disaster recovery, and mobility of Kubernetes applications.
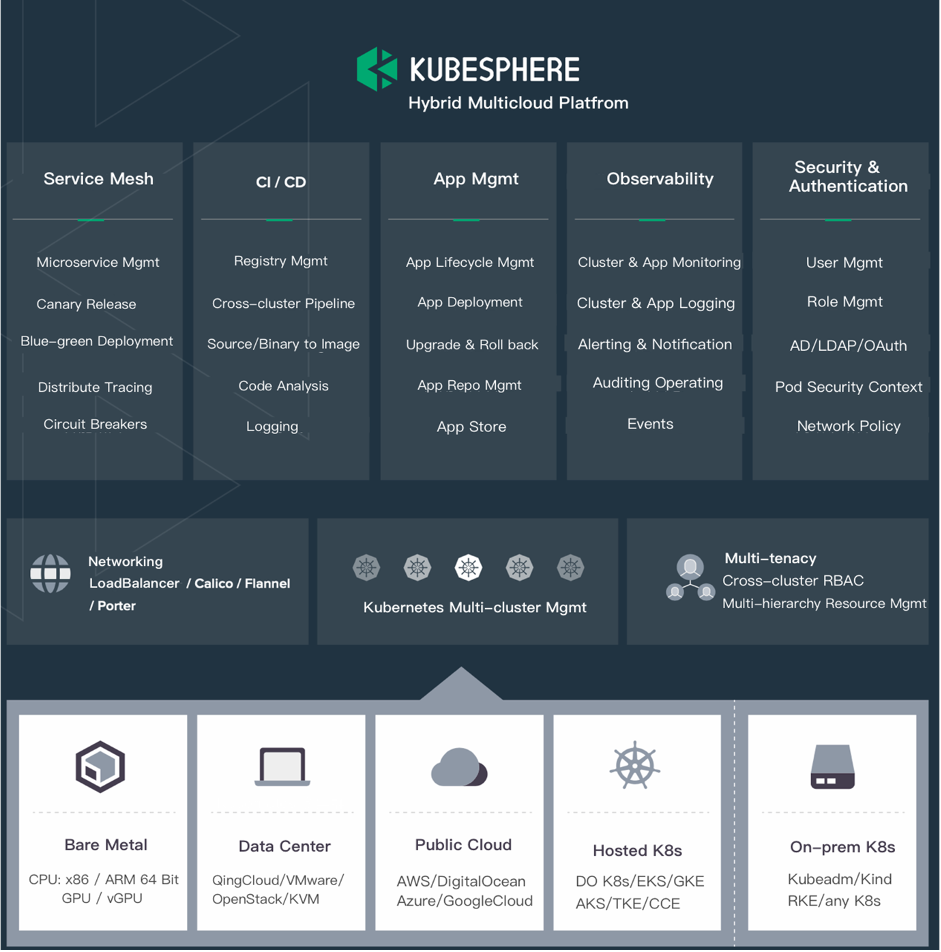
 KubeSphere is a distributed operating system for cloud-native application management, using Kubernetes as its kernel. It provides a plug-and-play architecture, allowing third-party applications to be seamlessly integrated into its ecosystem.
In this article, we will introduce the deployment of Kasten K10 on KubeSphere.
Provision a KubeSphere Cluster
This article will introduce how to deploy Kasten on KubeSphere Container Platform. You can install KubeSphere on any Kubernetes cluster or Linux system, refer to KubeSphere documentation for more details or vist the Github of KubeSphere.
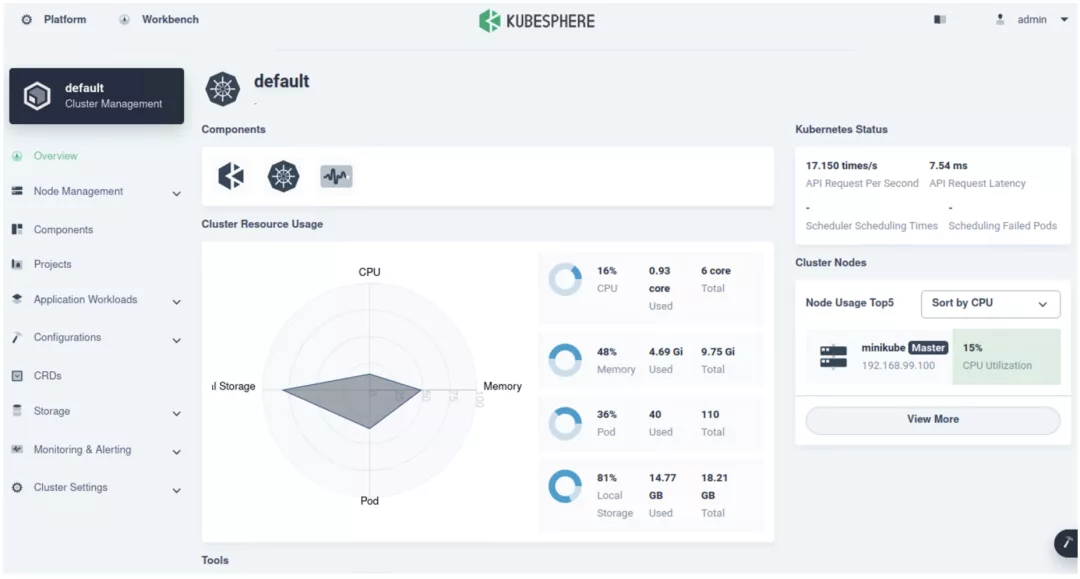
After the creation of KubeSphere cluster, you can log in to the KubeSphere web console:
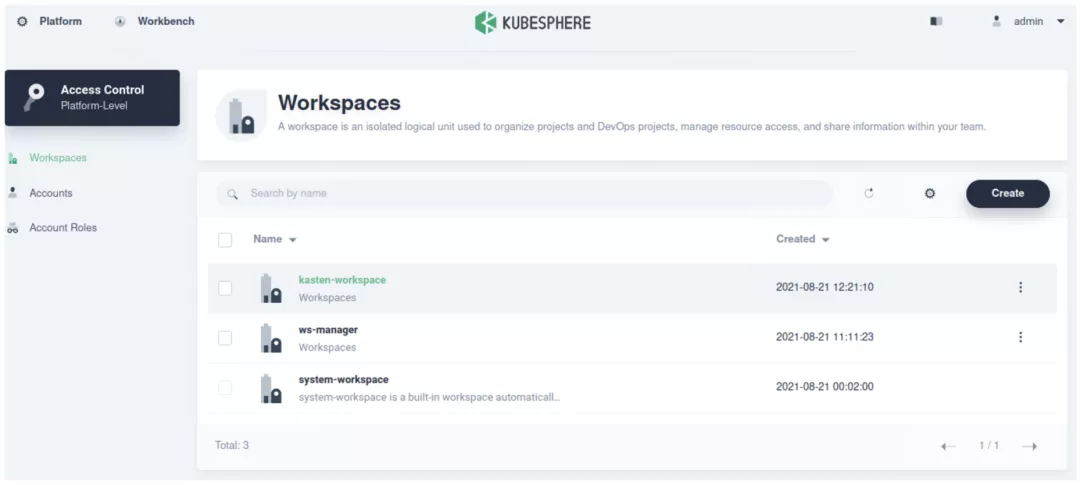
 Click the button "Platform" in the upper left corner and then select "Access Control"; Create a new workspace called Kasten-Workspace.
 Enter "Kasten-workspace" and select "App Repositoties"; Add an application repository named Kasten.
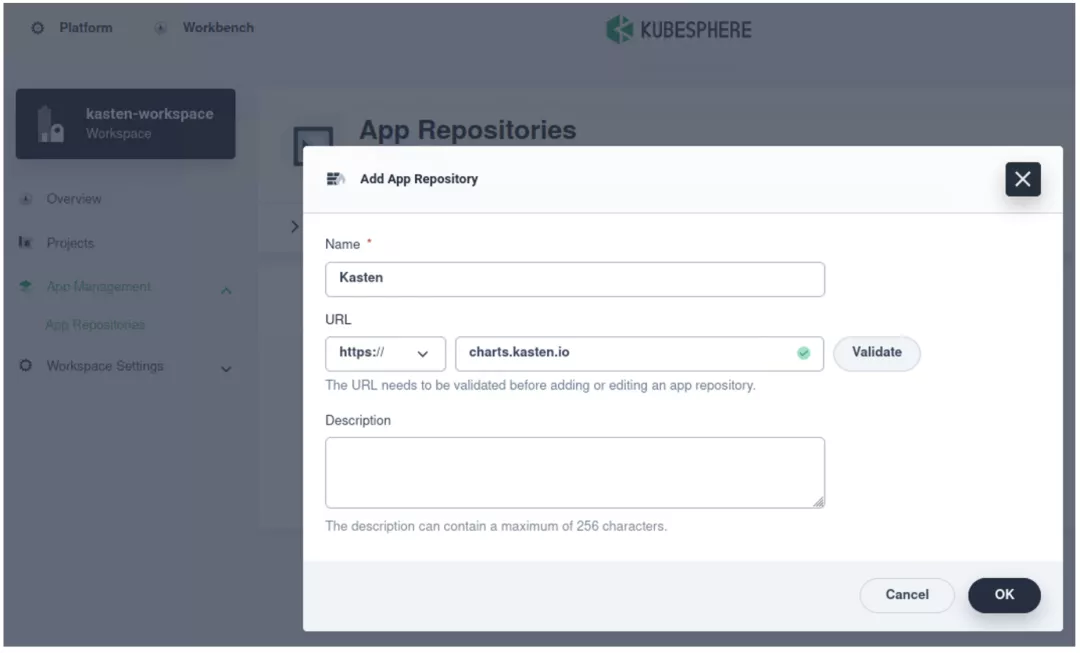
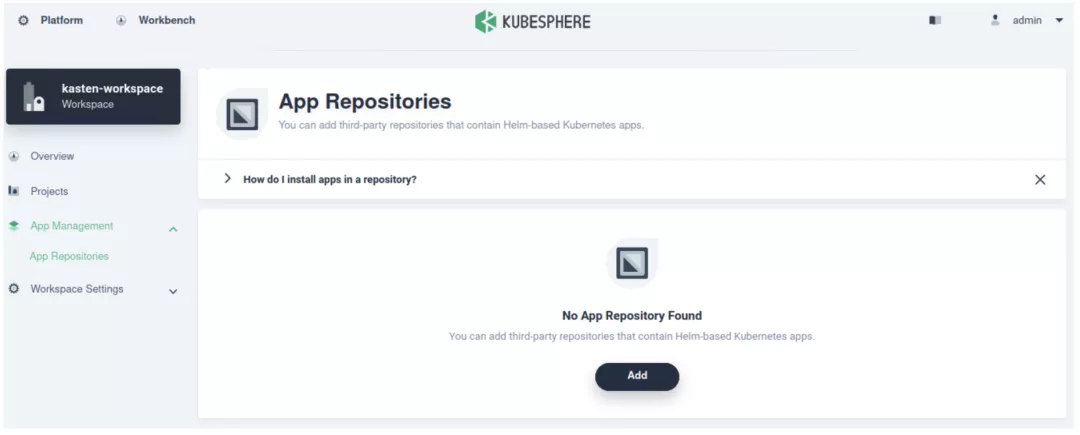 Add the official Helm Repository of Kasten to KubeSphere. Helm repository address[2]:
https://charts.kasten.io/
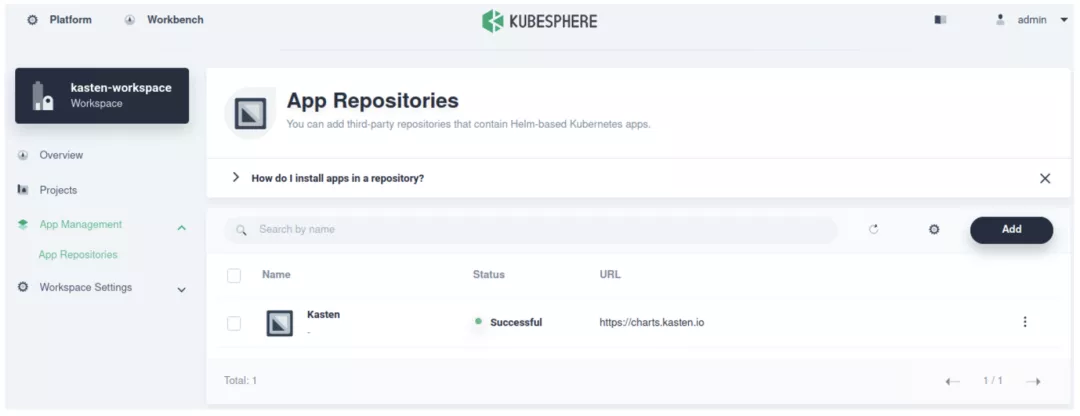
 Once completed, the repository will find its status to be "successful".
Deploy Kasten K10 on Kubernetes to Backup and Restore Cluster
First, create a Namespace to run Kasten.
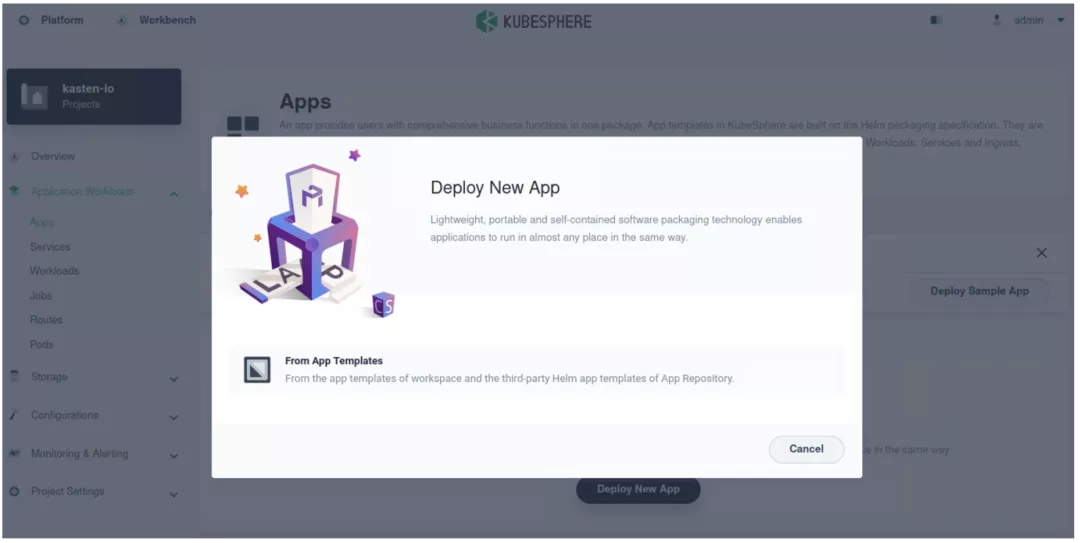
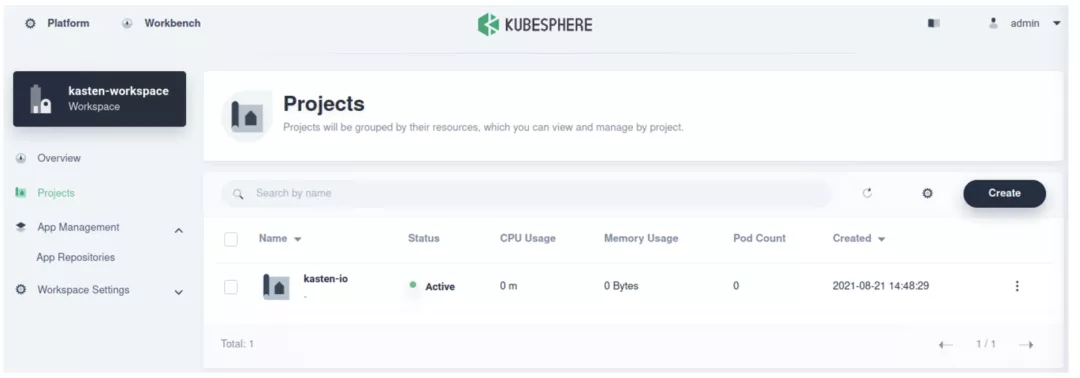 After creation, click the Namespace and select "App"-"Deploy New APP"-"From App Template"successively.
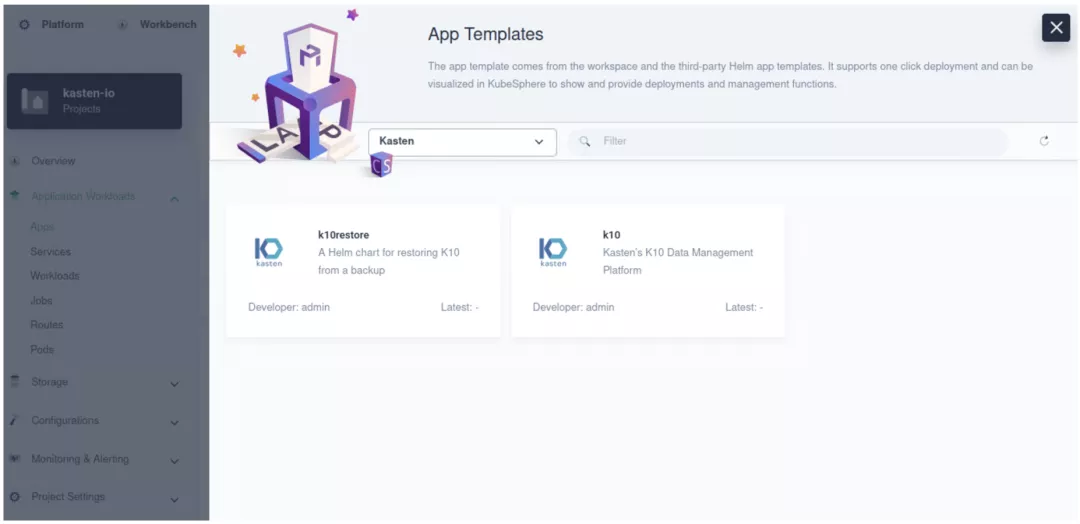
 Select "Kasten" from the drop-down menu and then select "K10".
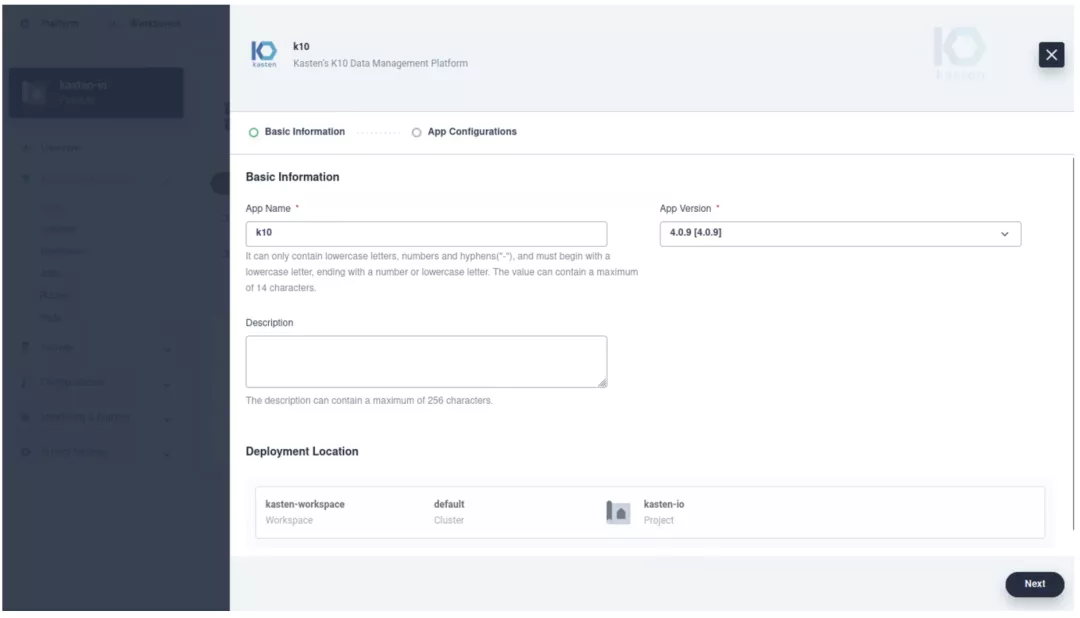
 Click "K10" and enter the detail page of Chart; Click "Configuration File" to view or download the default values.yaml; Select the version and click to deploy; Set "App Name" as "K10" and select the "App Version"; Confirm the "Deployment Location", and click "Next".
 For this step, we need to input required parameters to deploy Kasten K10 on KubeSphere. We need to adjust the parameters in line with our own needs. During the installation, adjust the parameters as follows and click "Deploy".
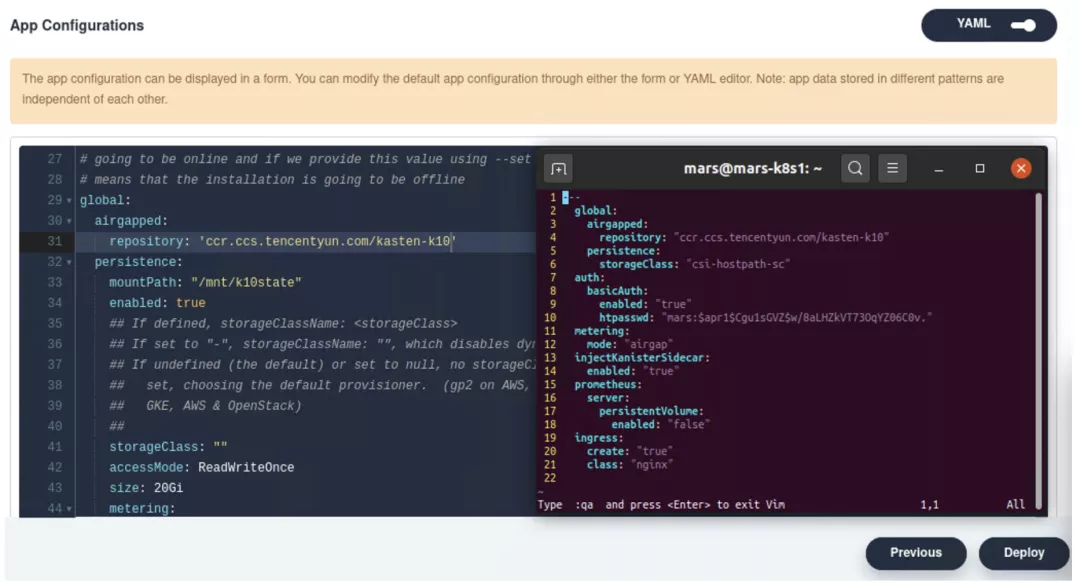
global:
  airgapped:
    repository: "ccr.ccs.tencentyun.com/kasten-k10"
  persistence:
    storageClass: "csi-hostpath-sc"
auth:
  basicAuth:
    enabled: "true"
    htpasswd: "mars:$apr1$Cgu1sGVZ$w/8aLHZkVT73OqYZ06C0v."
metering:
  mode: "airgap"
injectKanisterSidecar:
  enabled: "true"
prometheus:
  server:
    persistentVolume:
      enabled: "false"
ingress:
  create: "true"
  class: "nginx"
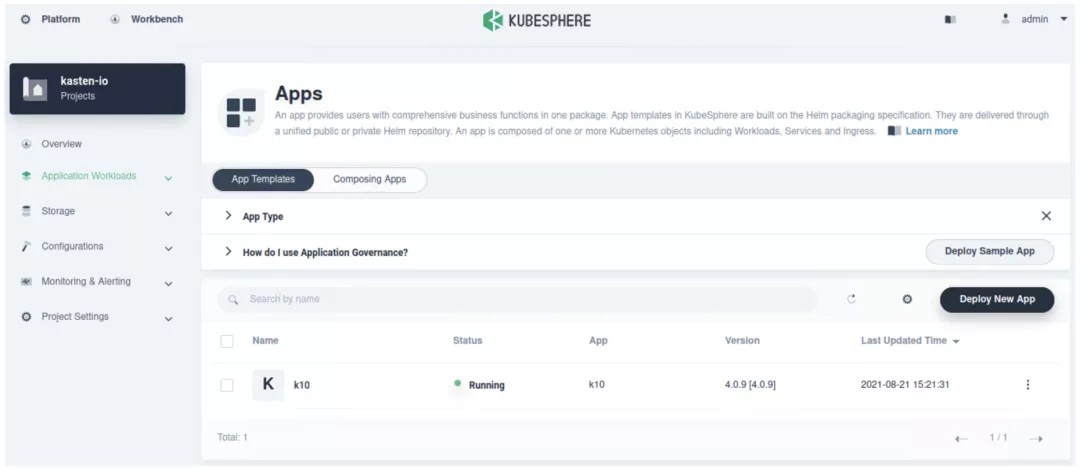
Click "Deploy" and wait for the status to turn into "running".
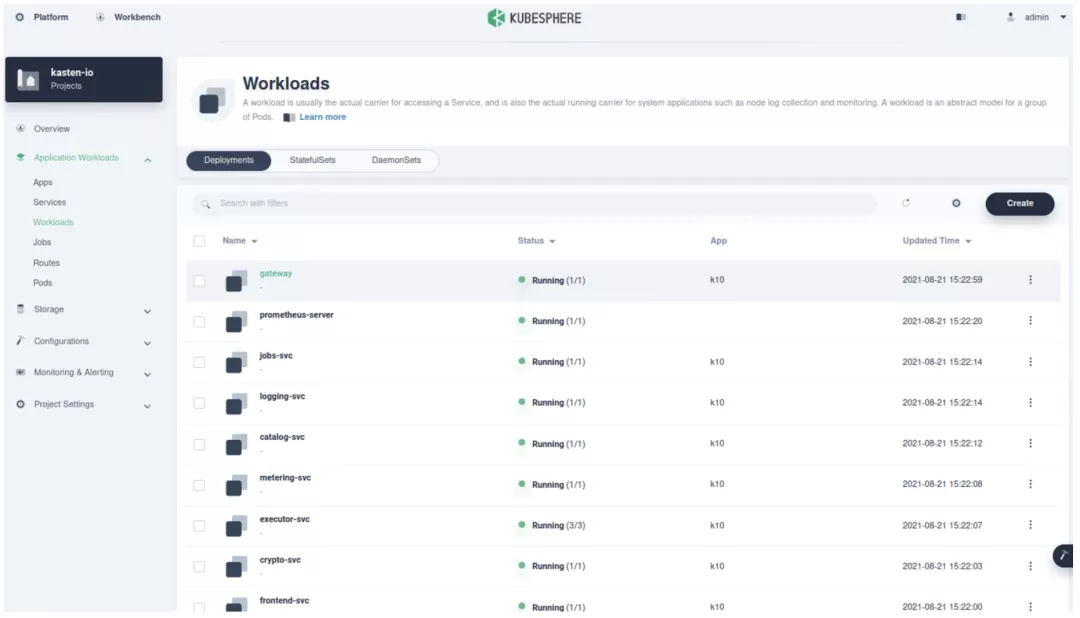
 Click "Deployment" to check if Kasten has deployed workload and is in running status.
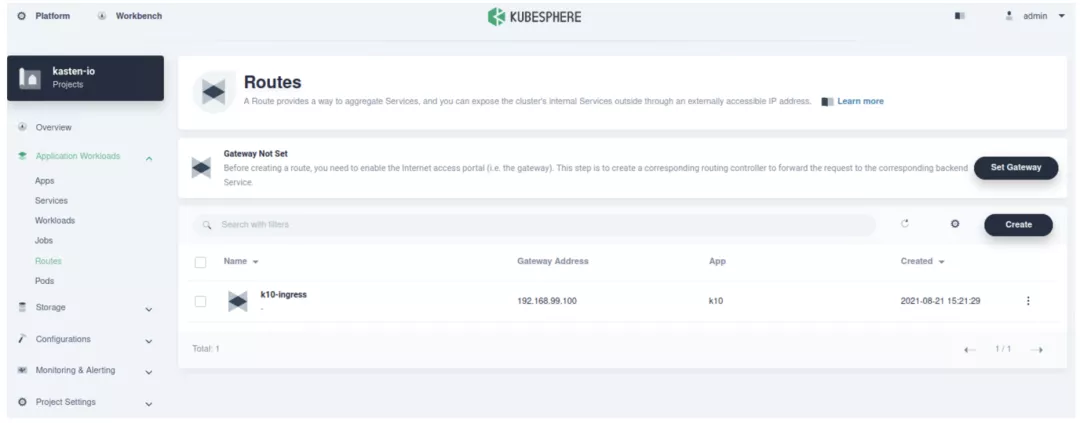
In “Application Workloads” - “Routes” page, we can find the Gateway of Ingress configured previously.
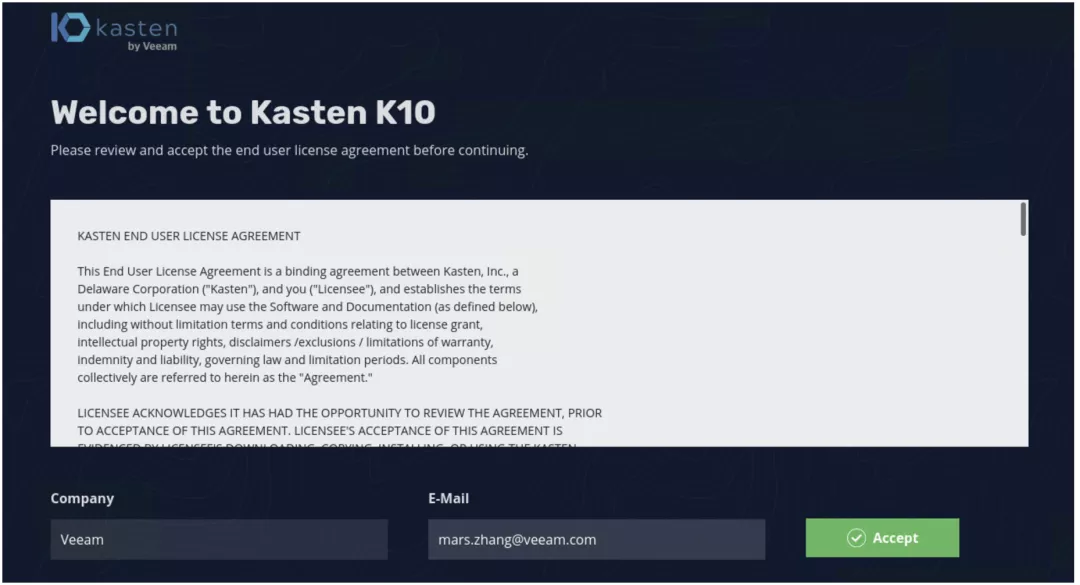
Log in the Management Page of Kasten K10
Input https://192.168.99.100/k10/# to the browser for the following log-in interface; Input the company and e-mail address to sign up.
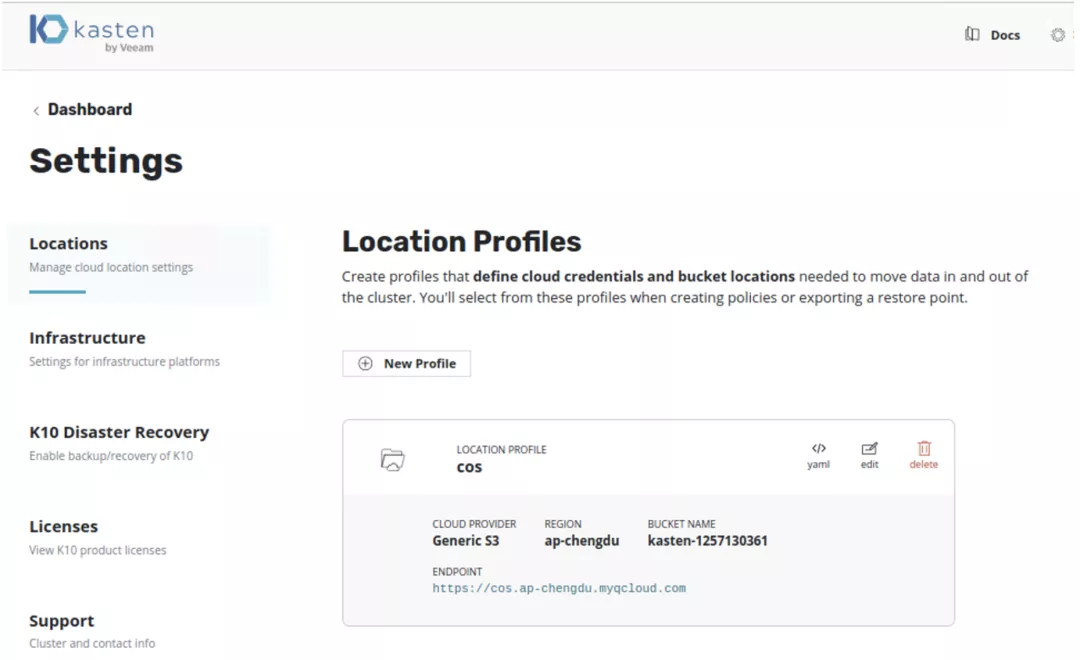
Set the locations for storing our backup data. In this case, S3 compatible storage is selected.
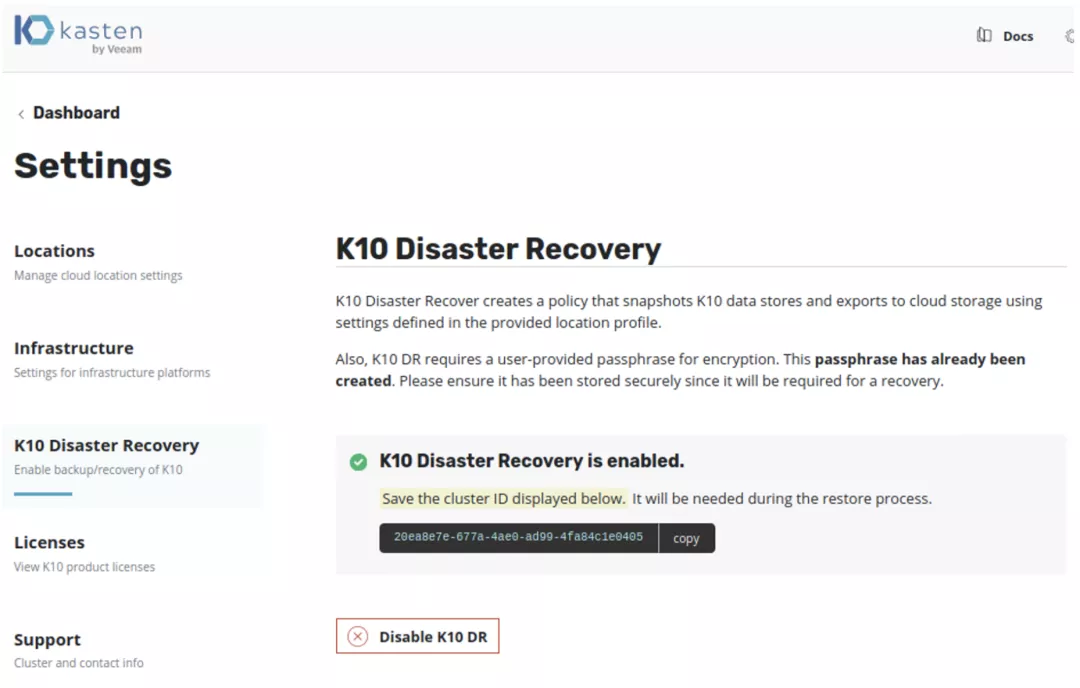
Finally, start "K10 Disaster Recovery" and we can start to set "Disaster Recovery" for our cloud native application.
Deploy Cloud Native Applications on Kubernetes
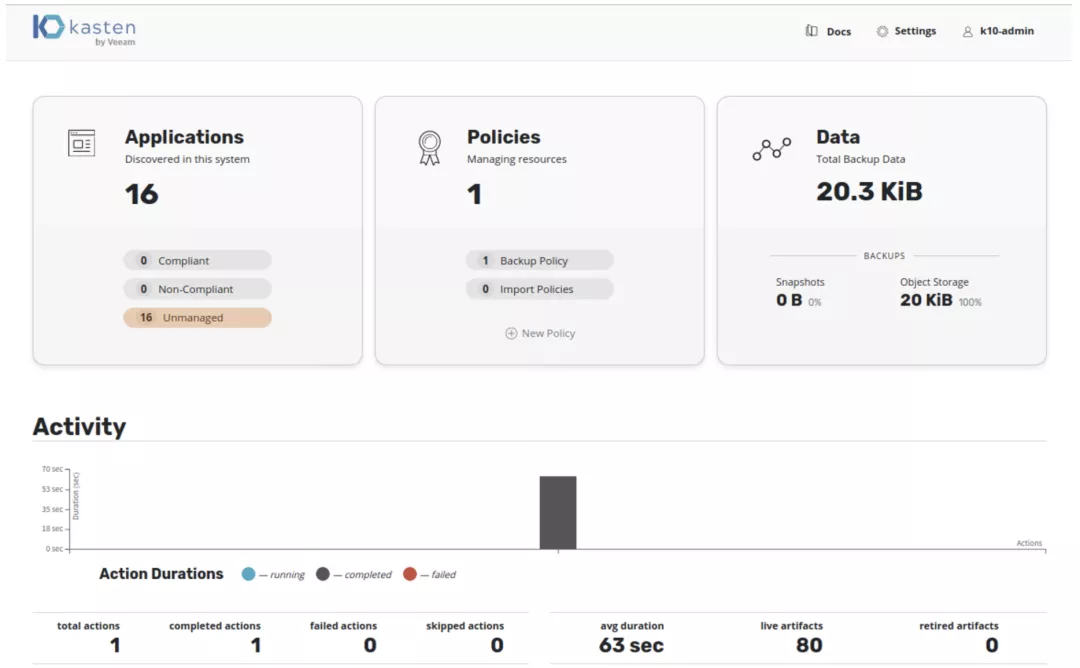
Kasten Dashboard holds 16 applications, which are shown as follows. We can create a WordPress application with a WordPress Pod and Mysql Pod, a typical application that is partly stateful and partly stateless. Here are the steps.
Create kustomization.yaml
Create “Secret Generator". A Secrete can store sensitive data such as passwords or keys. Since v1.14, kubectl supports kustomization to manage Kubernetes objects. We can use the generator in kustomization.yaml to create a Secret.
We can add a Secret Generator to kustomization.yaml as follows. It should be noted that we need to replace YOUR_PASSWORD with our actual passwords.
cat <<EOF >./kustomization.yaml
secretGenerator:
- name: mysql-pass
  literals:
  - password=YOUR_PASSWORD
EOF
Download configuration file of MySQL deployment
curl -LO https://k8s.io/examples/application/wordpress/mysql-deployment.yaml
Download configuration file of Wordpress
curl -LO https://k8s.io/examples/application/wordpress/wordpress-deployment.yaml
Add to kustomization.yaml
cat <<EOF >>./kustomization.yaml
resources:
  - mysql-deployment.yaml
  - wordpress-deployment.yaml
EOF
Apply and verify all resources applied to deploy WordPress website within kustomization.yaml and MySQL database. We can set and apply the content as follows.
kubectl create ns wordpress
kubectl apply -k ./  -n wordpress
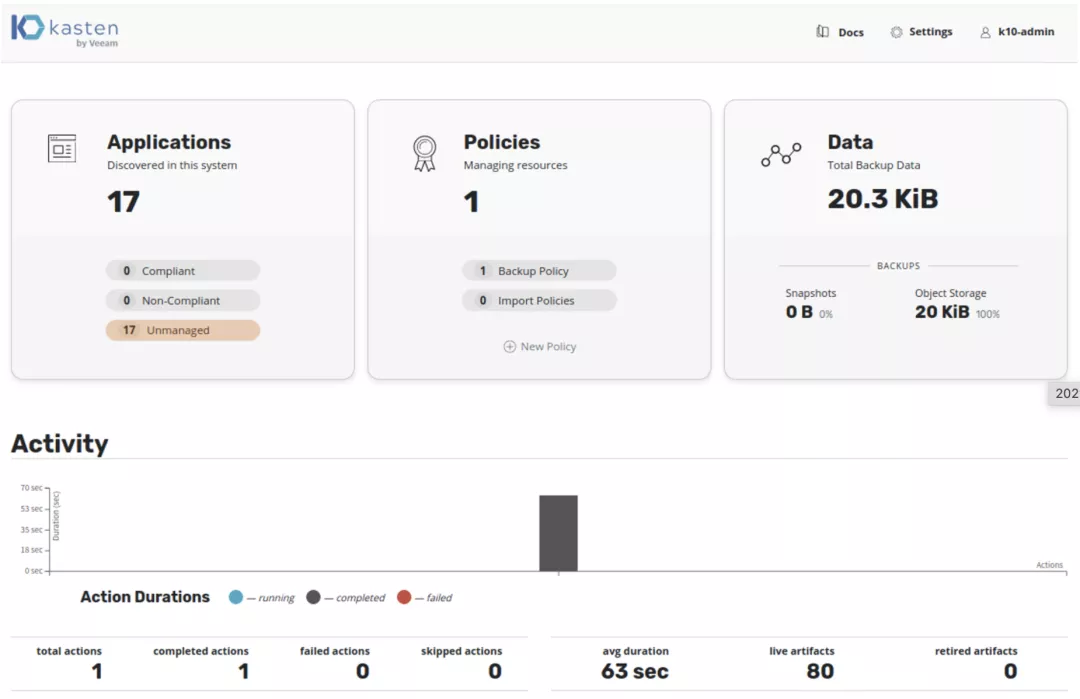
Once completed, we can find the number of application increase to 17.
 In addition, applications of the WordPress can also be find in "Applications".
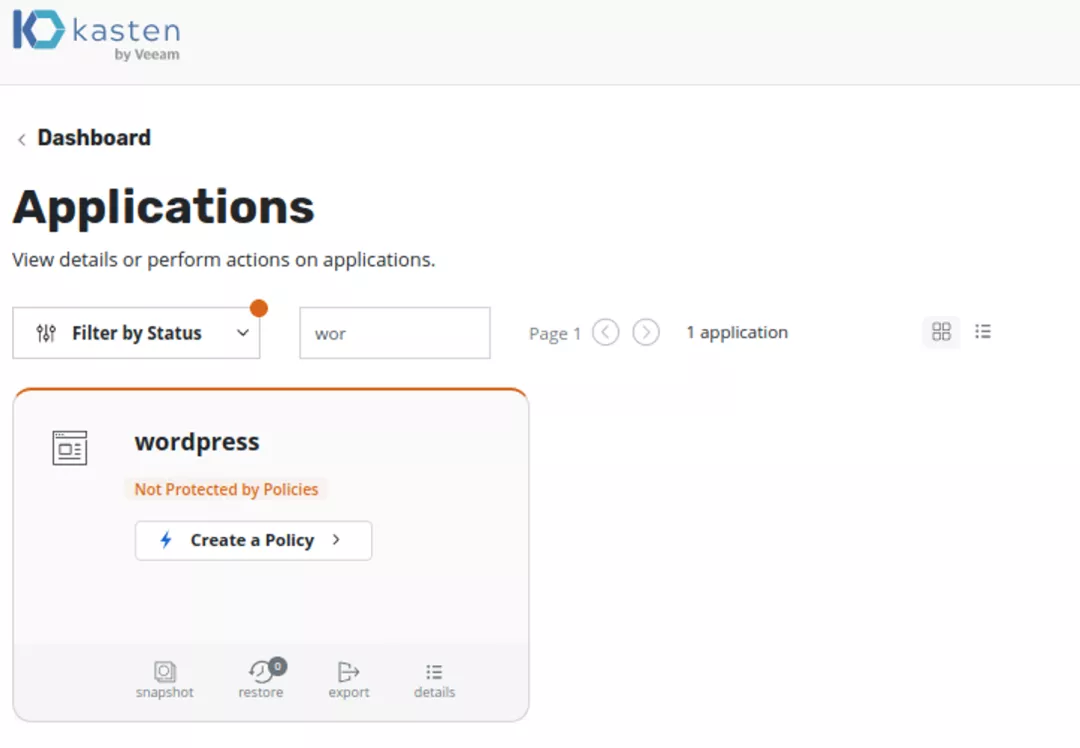
Back Up Cloud Native Applications
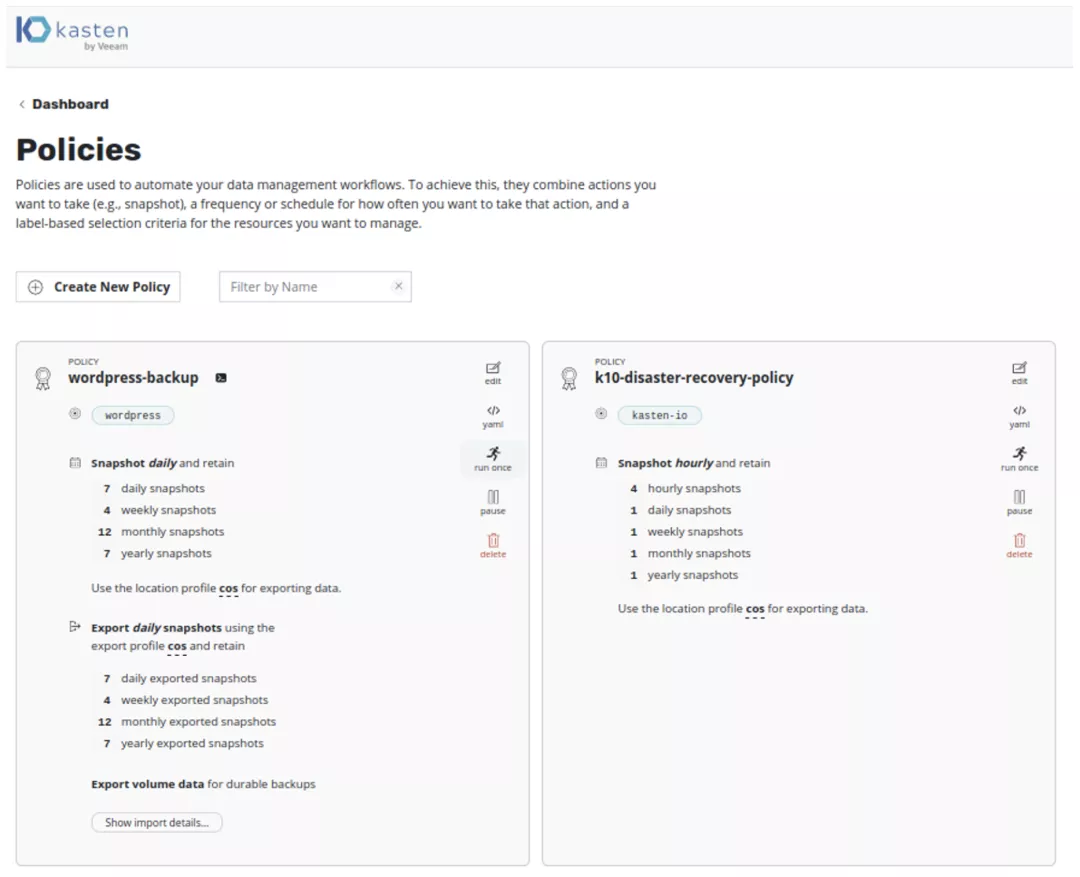
Click "Create Policy" and create a data backup strategy. In such a case, Kasten can protect applications by creating local snapshot, and back up the application data to cloud, thus to realize the long-term retention of data.
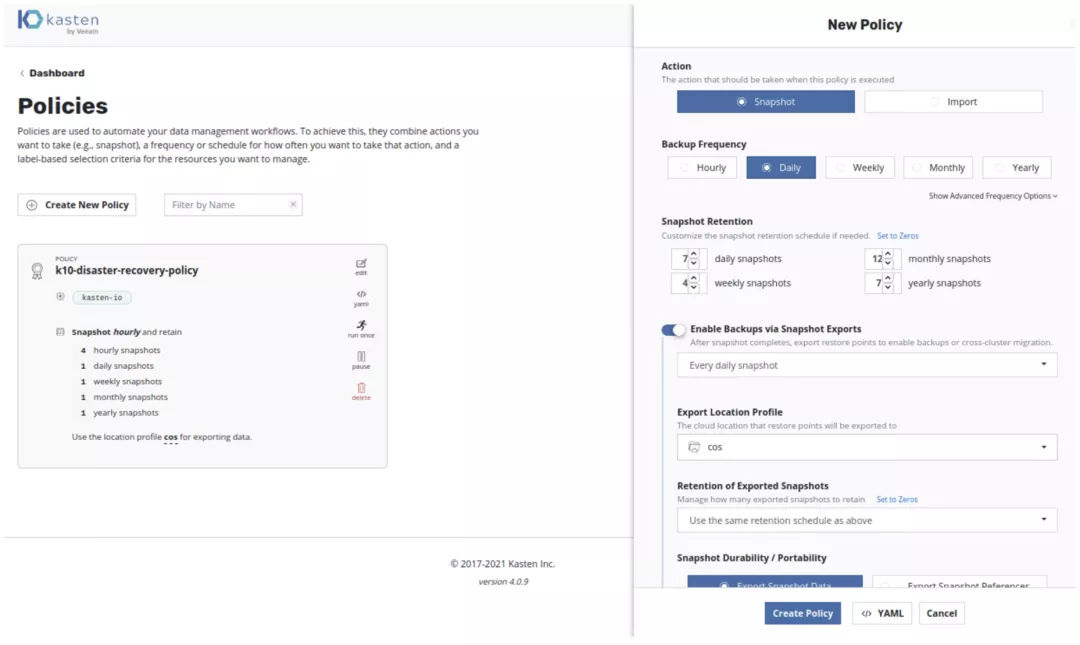
Click "Run Once" to start backup.
Observe Dashboard and we can find backup is completed.
Complete the Recovery of Cloud Native Applications
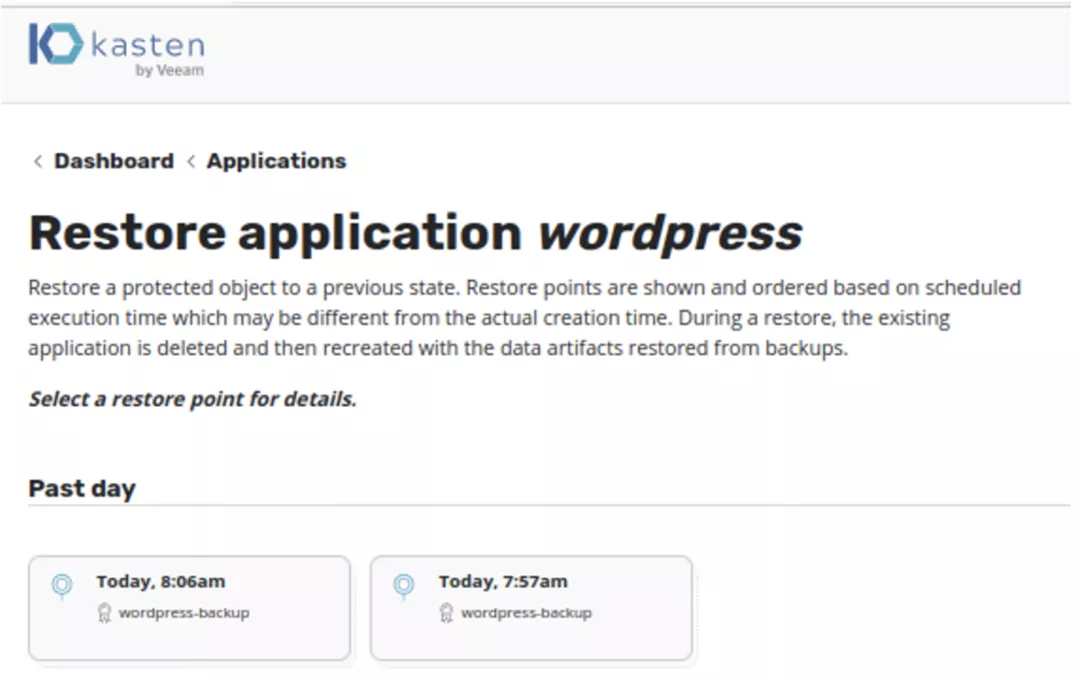
Find "Applications" in Dashboard and then click "Restore".
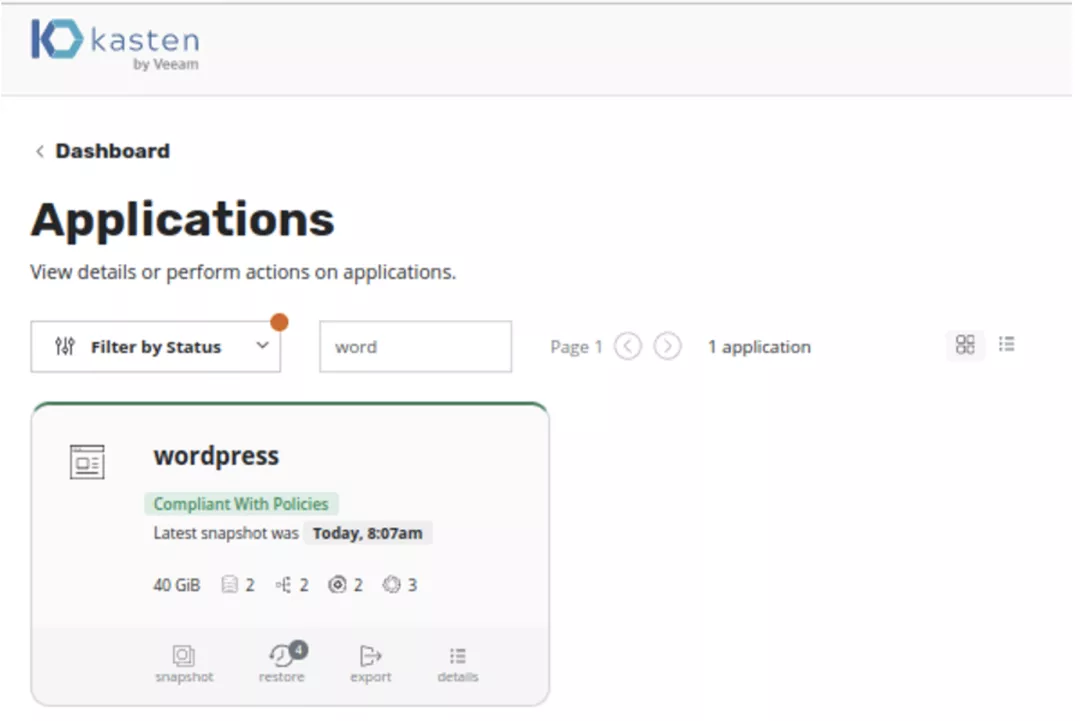 Set the time for recovery.
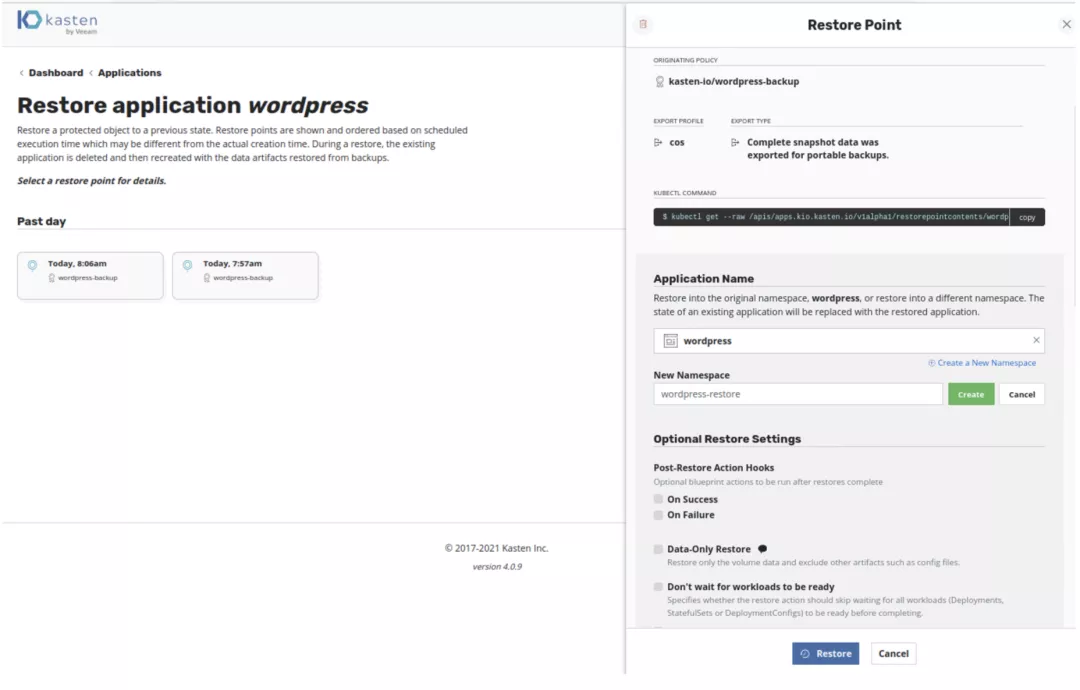
Create a Namespace for recovery, which is named as "Wordpress-restore" in this case.
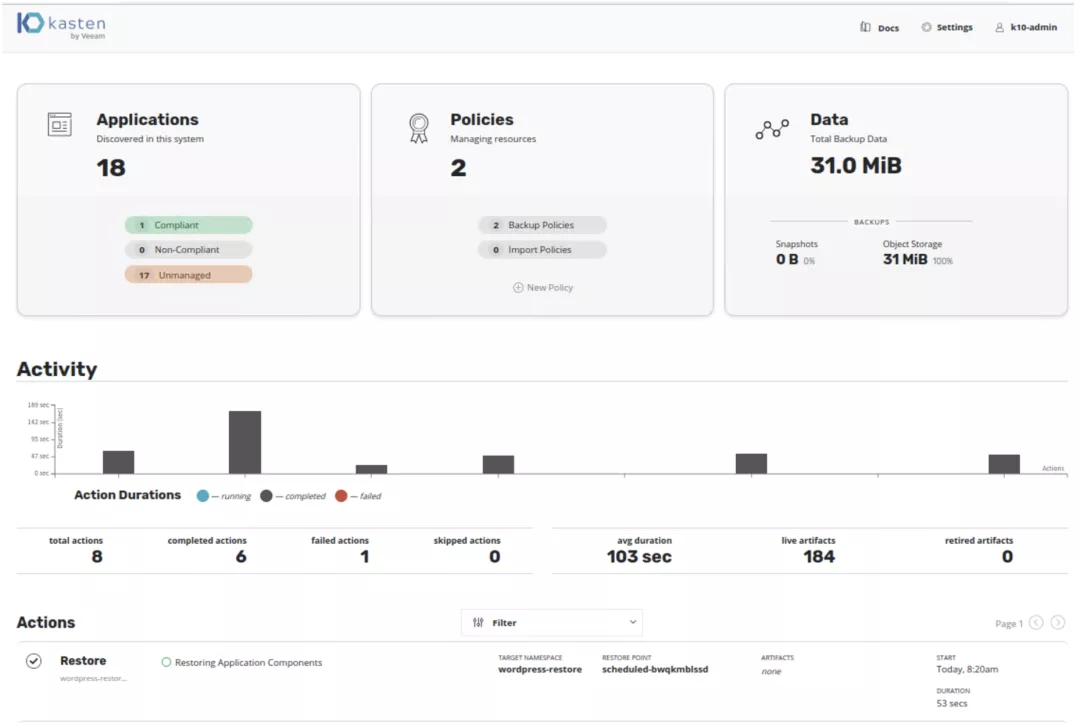
As every application recovered will create a new Namespace, the number of applications increases from 17 to 18. In Dashboard we can find that applications have been fully recovered.
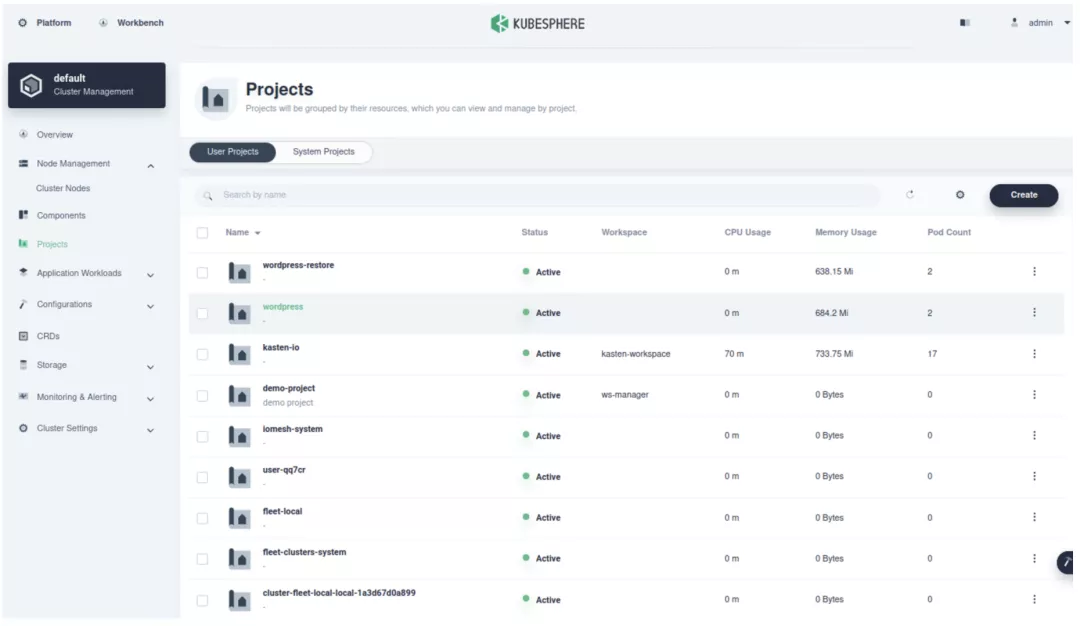
In KubeSphere Dashboard, we can find these applications recovered are running.
Summary
As a container platform, KubeSphere excels in cloud native application deployment. For application developers who are not familiar with Kubernetes and hope to make simple configurations to deploy Kasten, it is easy to follow the above steps and deploy Kasten with KubeSphere. KubeSphere helps to directly deploy the official Helm repository of Kasten K10, which performs well in data management, including backup, migration and disaster recovery.


