


Published on:2021-12-21
The number of views: 121


Transform Traditional Applications into Microservices to Enable the Traffic Monitoring Feature
Challenges
When trying to use service mesh of Kubernetes, most of KubeSphere users only manage to deploy a Bookinfo sample on KubeSphere. They are also struggling in understanding how to explore the full capabilities of service mesh, let alone transform traditional applications into microservices.
This article describes how to transform a traditional application into microservices to use service mesh features, such as grayscale release, traffic monitoring, and tracing.
KubeSphere Microservices
KubeSphere microservices use the application CRD to abstract associated resources into a concrete application, and provide traffic monitoring, grayscale release, and tracing features with the help of Istio's application features. Moreover, KubeSphere microservices shield complex DestinationRule and VirtualService of Istio and automatically update resources according to traffic monitoring settings and grayscale release policies.
Prerequisites for using KubeSphere microservices are as follows:
-
A deployment must contain labels
appandversion, and a service must contain theapplabel. The app labels (equivalent to a service name) of the deployment and the service must be the same (required by Istio). -
All resources of an application must contain labels app.kubernetes.io/name=
and app.kubernetes.io/version= (required by the application). -
A deployment name must consist of a service name followed by v1. For example, when the service name is nginx, the deployment name is nginx-v1.
-
The deployment template must contain annotations (required during automatic sidecar injection of Istio).
  template:
    metadata:
      annotations:
        sidecar.istio.io/inject: "true"
- The service and deployment contain annotations. The KubeSphere CRD Controller automatically matches VirtualService and DestinationRules to the service.
# Service
kind: Service
metadata:
  annotations:
    servicemesh.kubesphere.io/enabled: "true"

# Deployment
kind: Deployment
metadata:
  annotations:
    servicemesh.kubesphere.io/enabled: "true"
Example
To implement traffic monitoring, two independent applications are required (for example, WordPress and MySQL). After the two applications work properly, we then transform them into KubeSphere microservices and inject the sidecar.
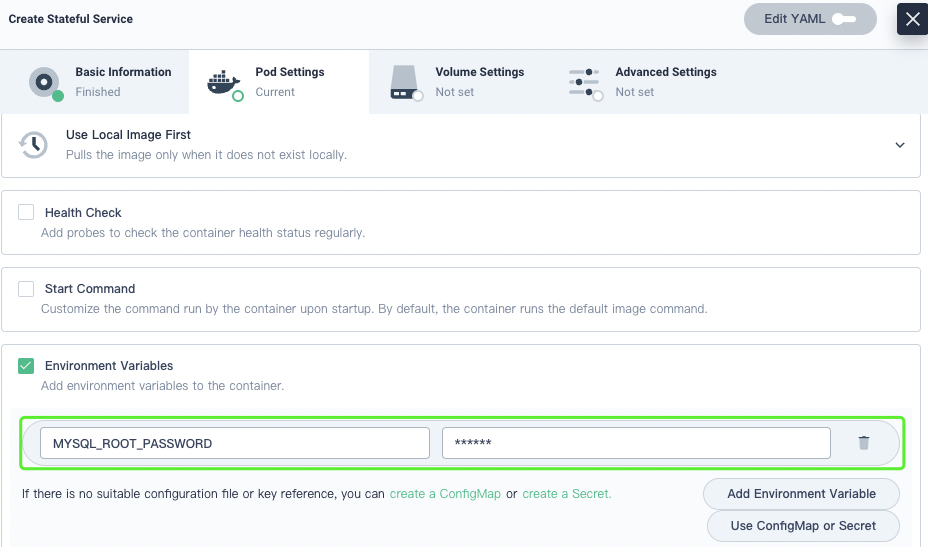
Open the MySQL Docker Hub page, and you can see explanation of the MYSQL_ROOT_PASSWORD variable. On the KubeSphere web console, set the default MySQL password.
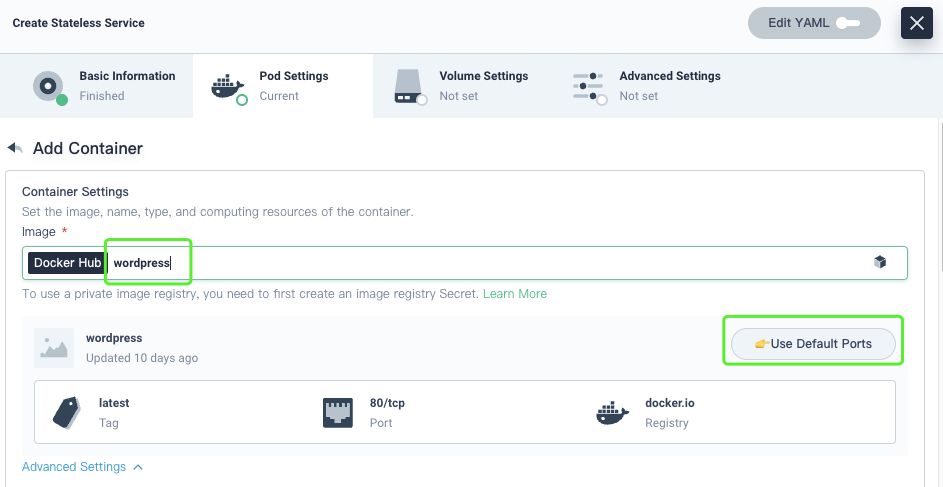
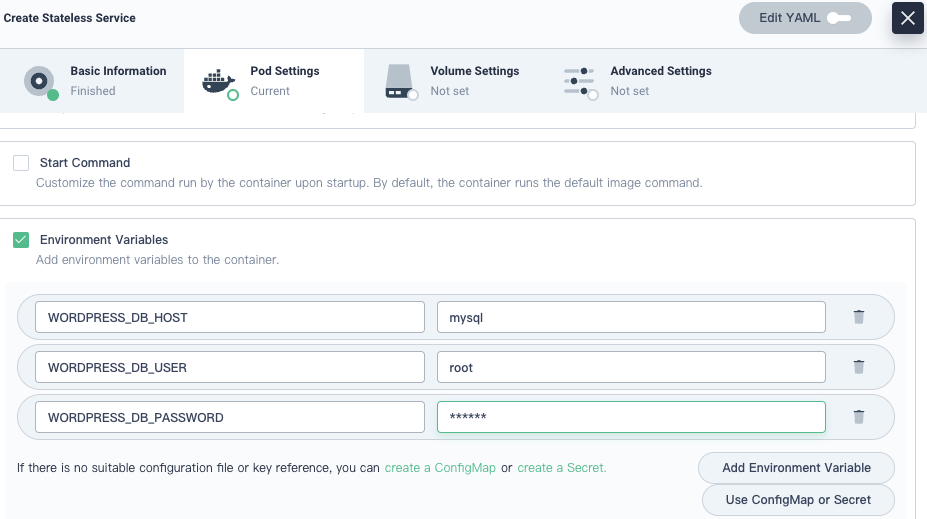
Open the WordPress Docker Hub page, and you can see three database variables WORDPRESS_DB_PASSWORD WORDPRESS_DB_USER WORDPRESS_DB_HOST. On the KubeSphere web console, set values of the three variables to connect Wordpress to MySQL.
Create a Traditional Application
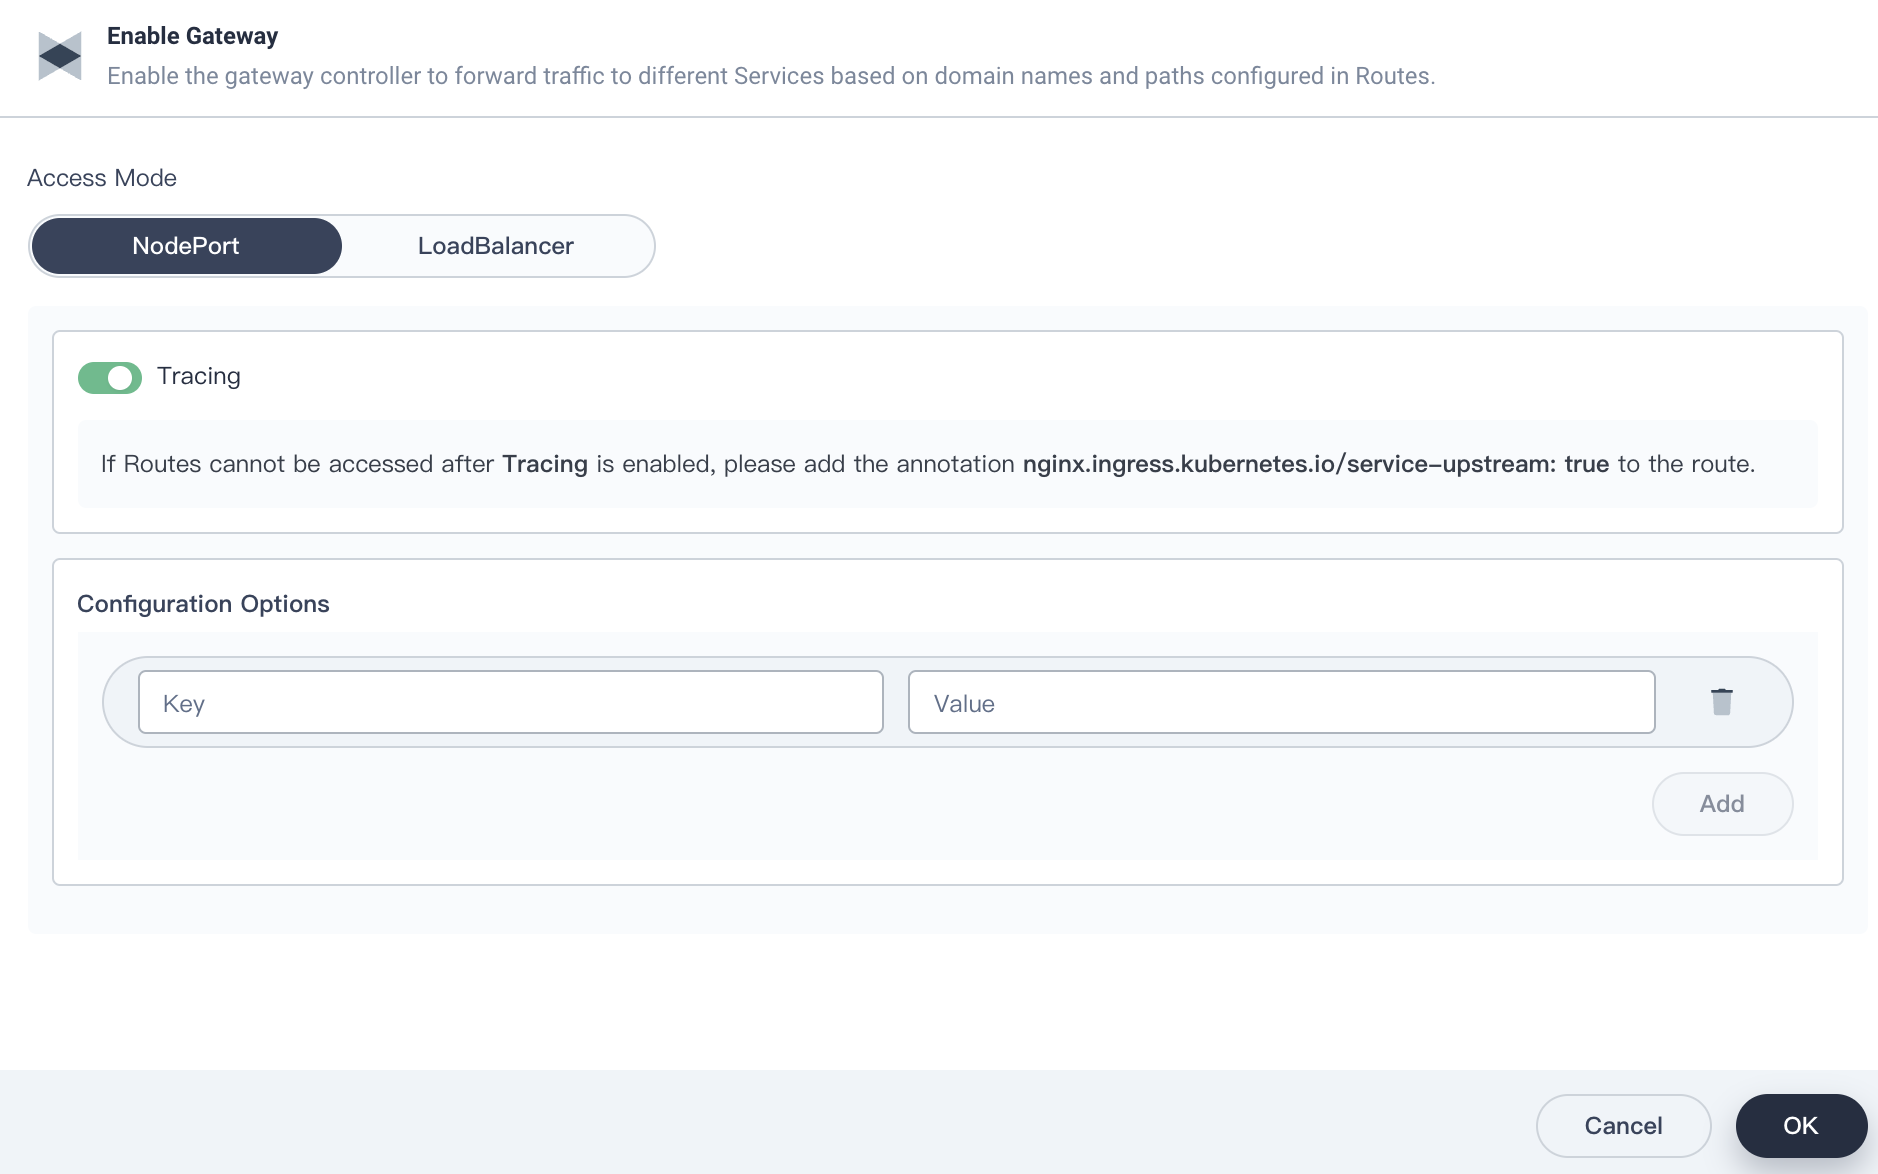
First, create a workspace and a project with the gateway and tracing features enabled.
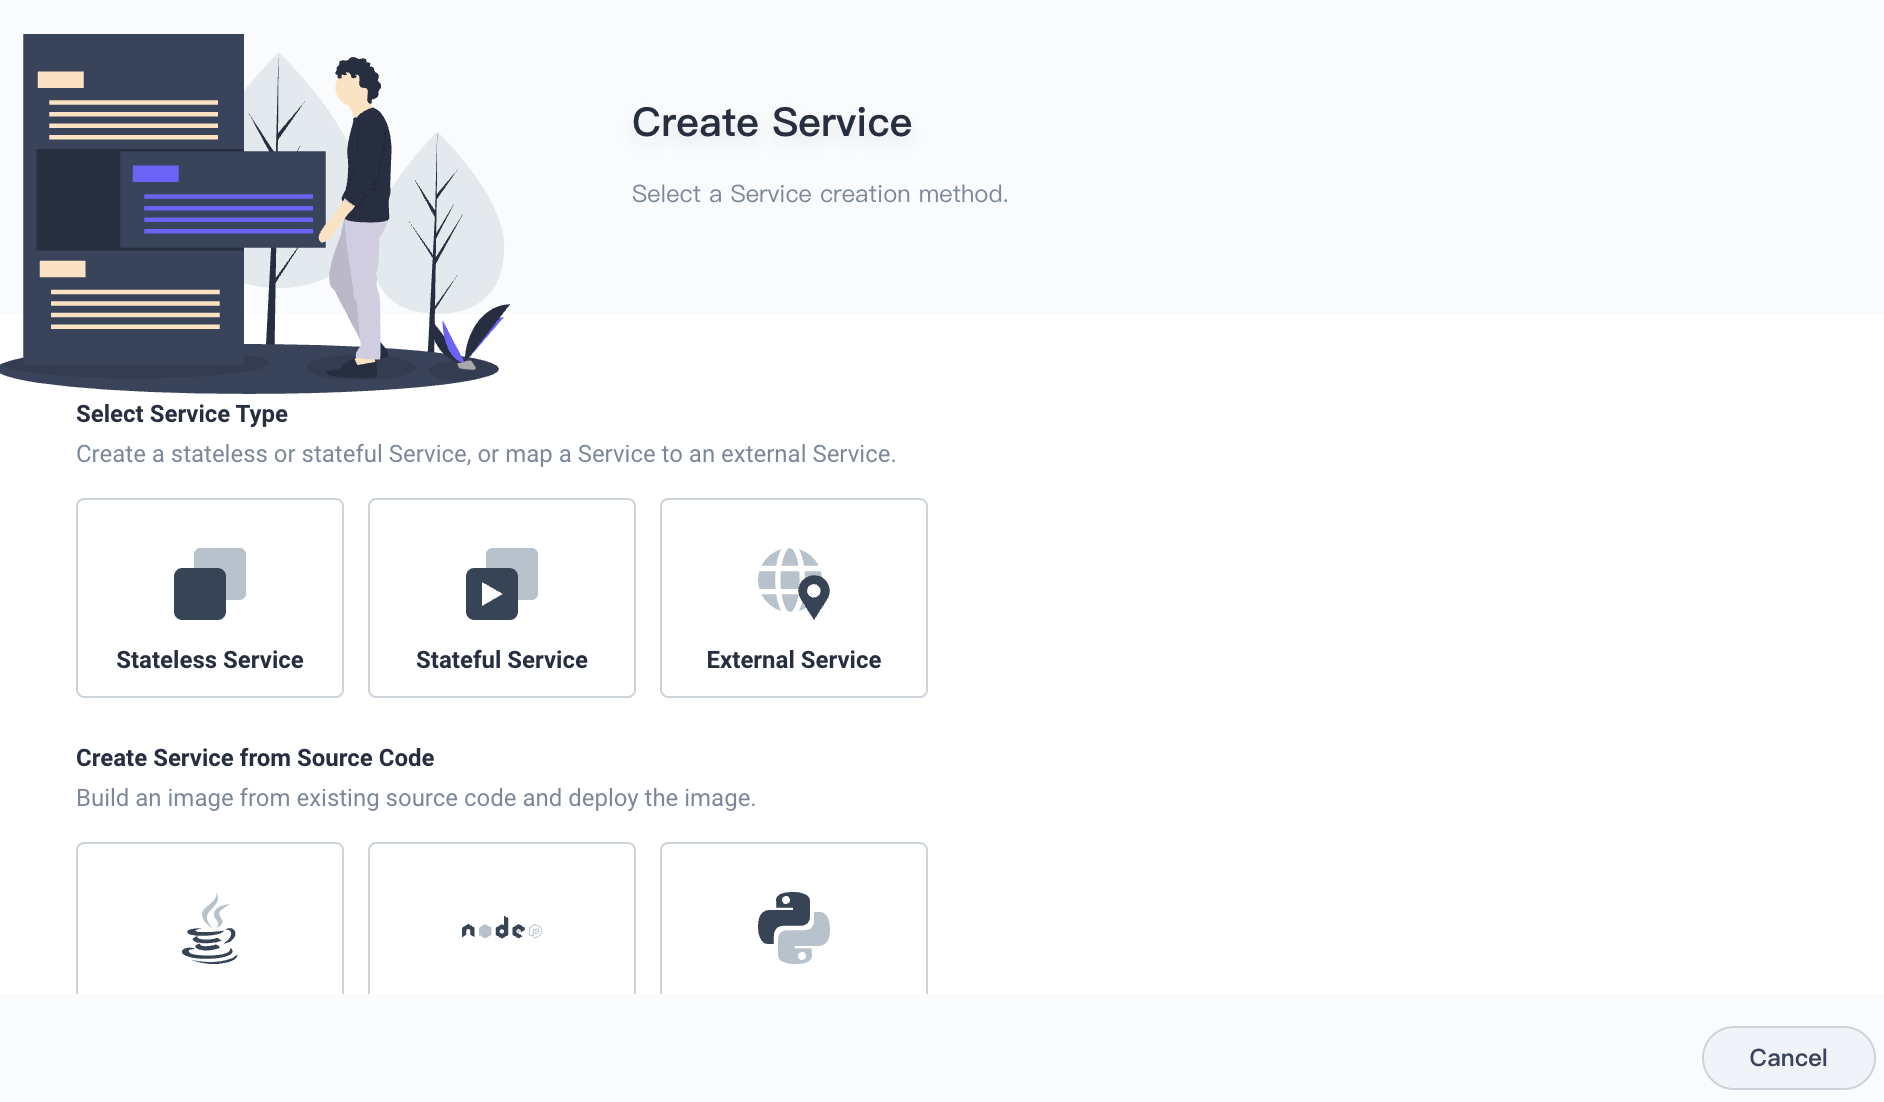
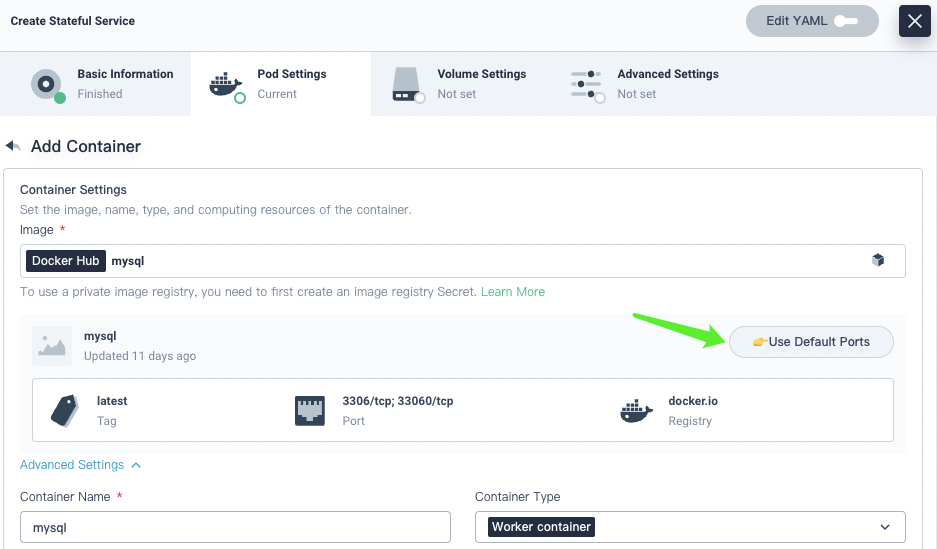
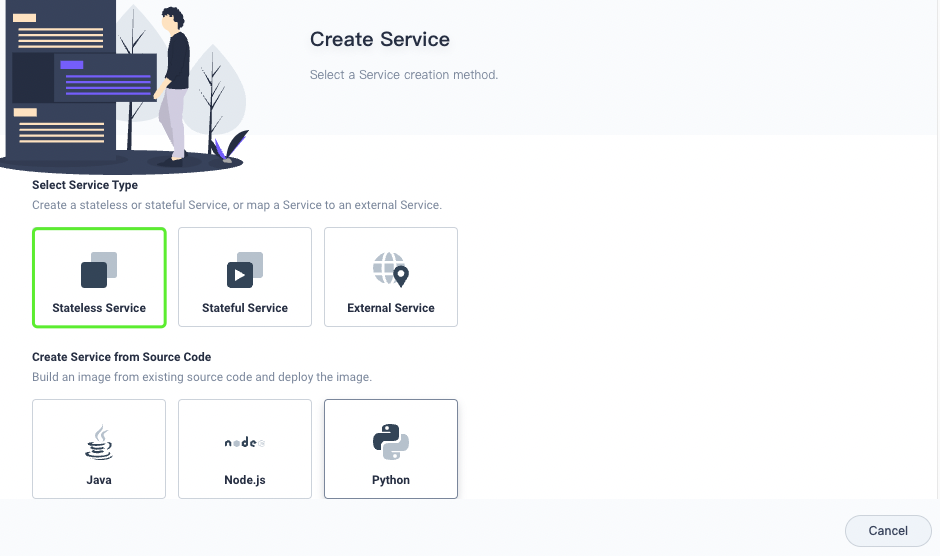
Select Application Workloads > Service. On the Service page, click Create. On the Create Service page, click Stateful Service to create a MySQL service.
In Environment Variables, set the default password.
Likewise, create a stateless WordPress service.
The following variables are for demonstration only. In production, select Use ConfigMap or Secret.
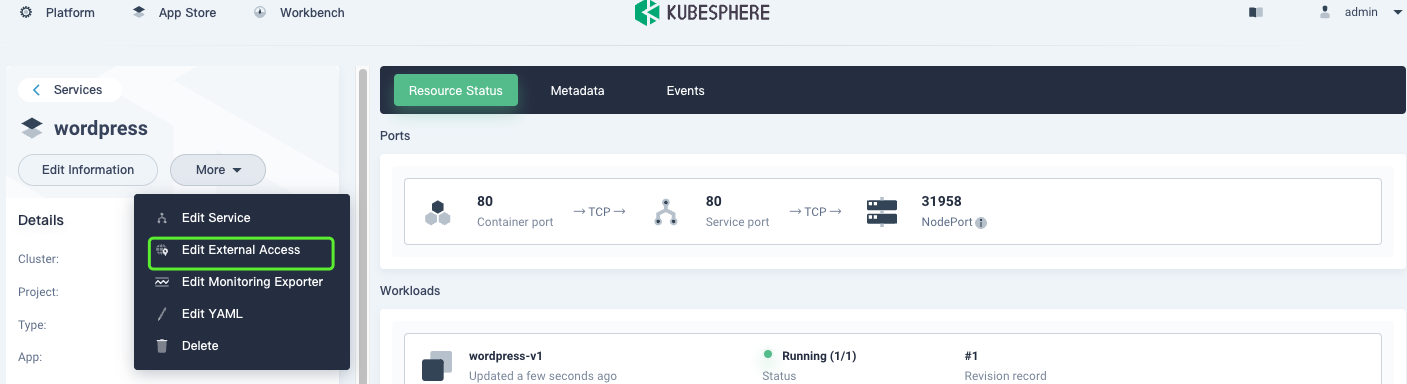
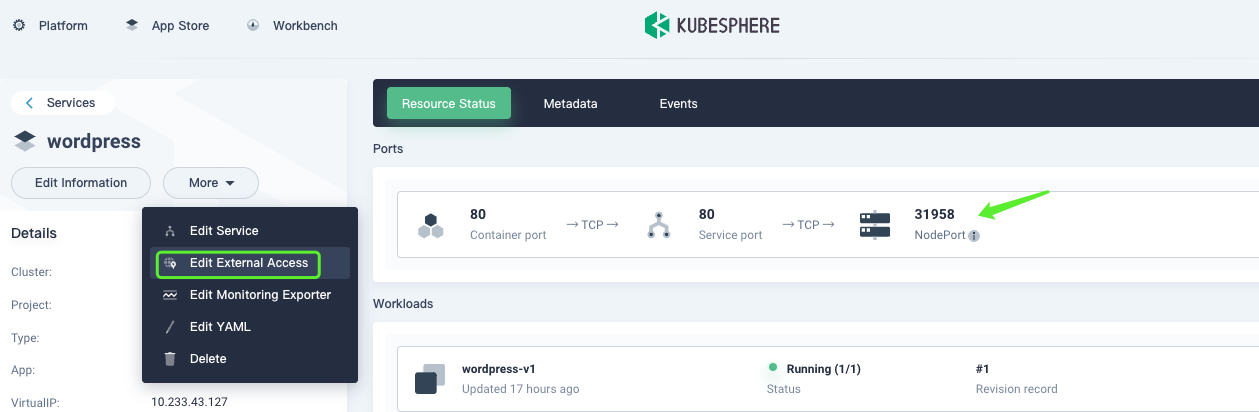
Select Edit External Access, and then change the access mode to NodePort.
After the pods run properly, access the service page at <Service IP address>:<Node port>. It can be seen that the application runs properly.
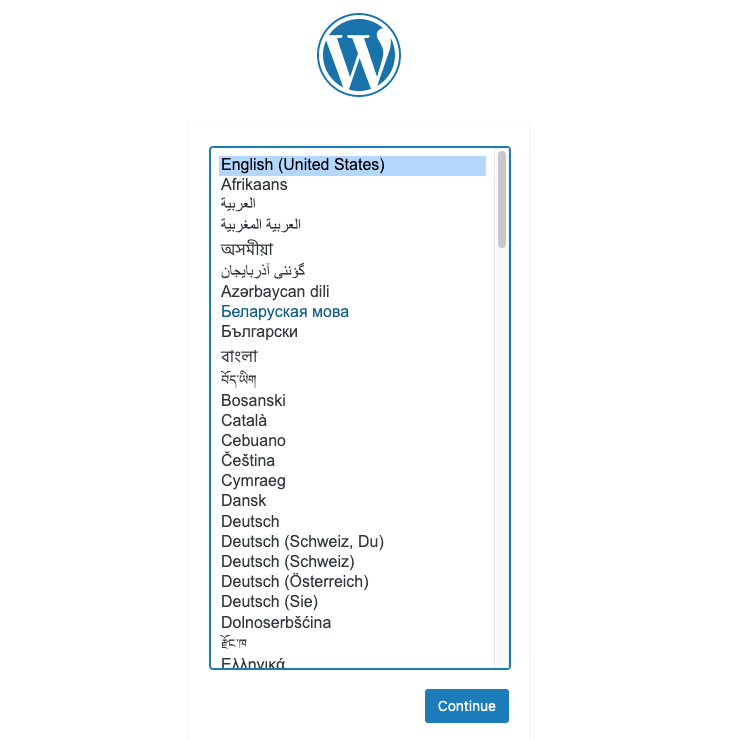
Check the pods. It is found that the sidecar is not enabled, and each pod contains only one container.

The traffic topology is not displayed because service mesh is not enabled. The following describes how to enable service mesh.
Deploy an Application
- Apply the following YAML file to deploy an application.
# wordpress.yaml
apiVersion: app.k8s.io/v1beta1
kind: Application
metadata:
  annotations:
    kubesphere.io/creator: admin
    servicemesh.kubesphere.io/enabled: "true"
  labels:
    app.kubernetes.io/name: wordpress-app
    app.kubernetes.io/version: v1
  name: wordpress-app  # The name of the application must be the same as that defined in label app.kubernetes.io/name.
spec:
  addOwnerRef: true
  componentKinds:
  - group: ""
    kind: Service
  - group: apps
    kind: Deployment
  - group: apps
    kind: StatefulSet
  - group: extensions
    kind: Ingress
  - group: servicemesh.kubesphere.io
    kind: Strategy
  - group: servicemesh.kubesphere.io
    kind: ServicePolicy
  selector:
    matchLabels:
      # Tag resources with the following two labels to specify their relationships.
      app.kubernetes.io/name: wordpress-app
      app.kubernetes.io/version: v1

The application state is 0/0, which indicates that no applications are associated.
If the application state is not displayed and running the
kubectl get appcommand does not work, it indicates that the CRD of your application is legacy. Run the following command to update the CRD:
kubectl apply -f https://raw.githubusercontent.com/kubesphere/ks-installer/master/roles/common/files/ks-crds/app.k8s.io_applications.yaml
- Add labels for the target application to declare services that belong to the application.
kubectl -n sample label deploy/wordpress-v1 app.kubernetes.io/name=wordpress-app app.kubernetes.io/version=v1
kubectl -n sample label svc/wordpress app.kubernetes.io/name=wordpress-app app.kubernetes.io/version=v1

kubectl -n sample label sts/mysql-v1 app.kubernetes.io/name=wordpress-app app.kubernetes.io/version=v1
kubectl -n sample label svc/wordpress app.kubernetes.io/name=wordpress-app app.kubernetes.io/version=v1
Then, check the application, and you can find that the number of services associated with the application is no longer 0.

- Add annotations to the target deployment and service.
kubectl -n sample annotate svc/wordpress servicemesh.kubesphere.io/enabled="true"
kubectl -n sample annotate deploy/wordpress-v1 servicemesh.kubesphere.io/enabled="true"
kubectl -n sample annotate svc/mysql servicemesh.kubesphere.io/enabled="true"
kubectl -n sample annotate sts/mysql-v1 servicemesh.kubesphere.io/enabled="true"
- Add annotations to the deploy and sts templates to enable the sidecar.
 kubectl -n sample edit deploy/wordpress-v1
...
  template:
    metadata:
      annotations:
        sidecar.istio.io/inject: "true"  # Add the row.

kubectl -n sample edit sts/mysql-v1
...
  template:
    metadata:
      annotations:
        sidecar.istio.io/inject: "true" # Add the row.
Note: You can inject the sidebar by simply adding annotations to the template.
Check whether the sidecar has been injected.

- Istio-relevant labels and naming rules must meet the requirements. If you create the service on KubeSphere, you don't need to modify the labels and naming rules.
For labels relevant to the app version, if you create the service on KubeSphere, labels in the following red boxes are added by default.

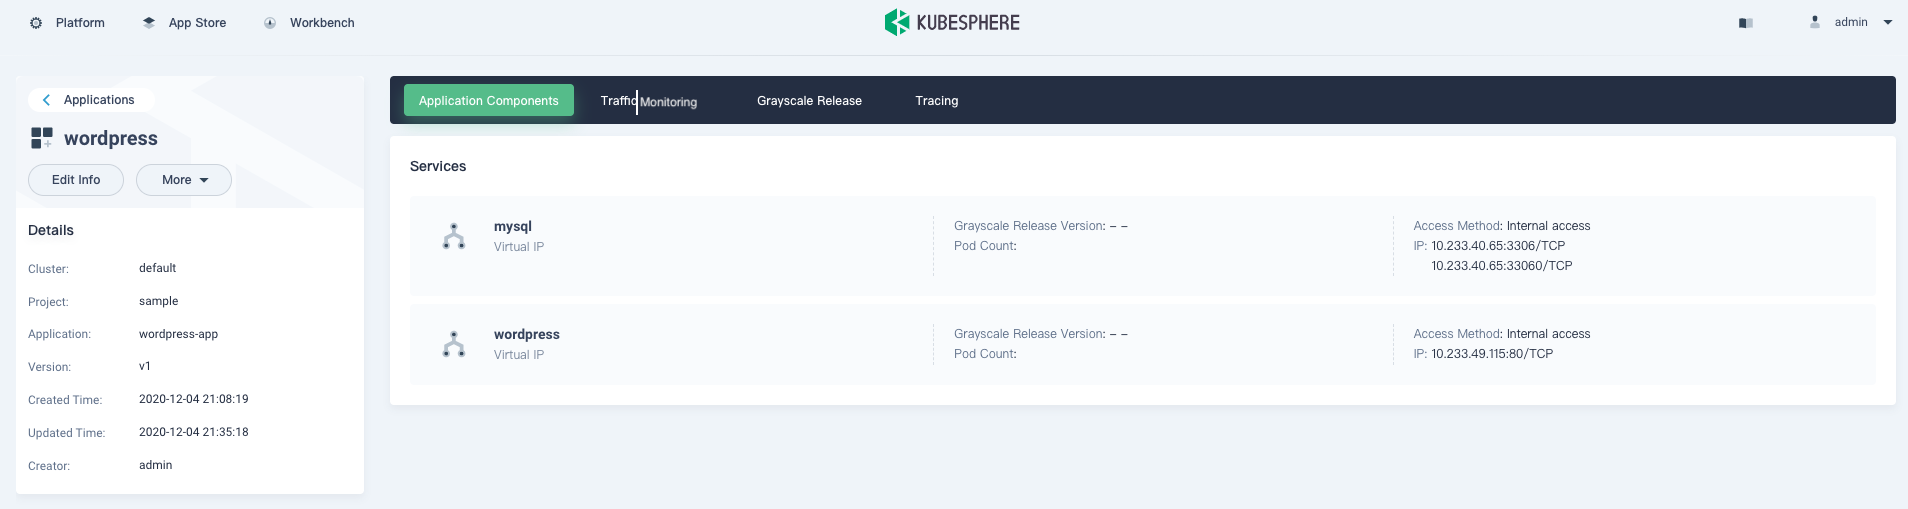
Check the Transformation Result
After the transformation is completed, check the application page.
Expose the WordPress service.
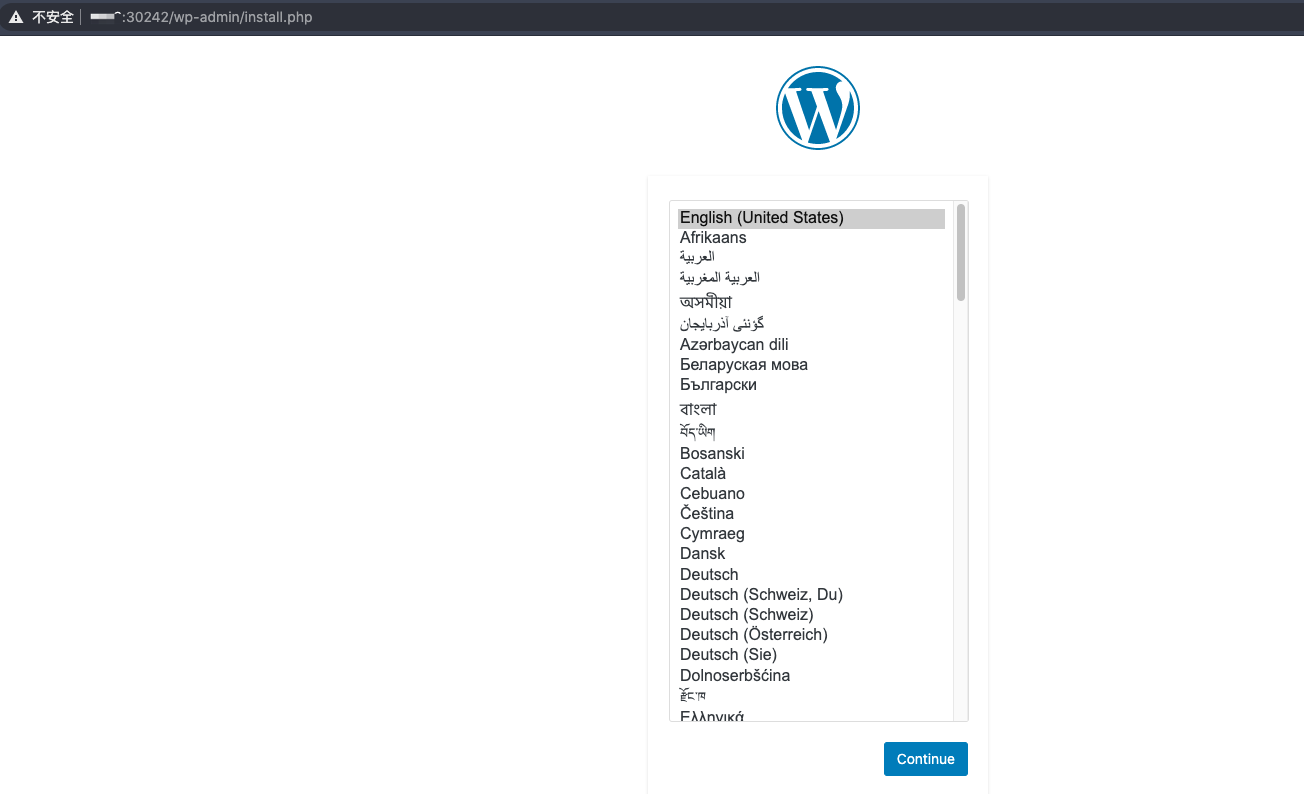
Access the service, and it can be found that the application works properly.
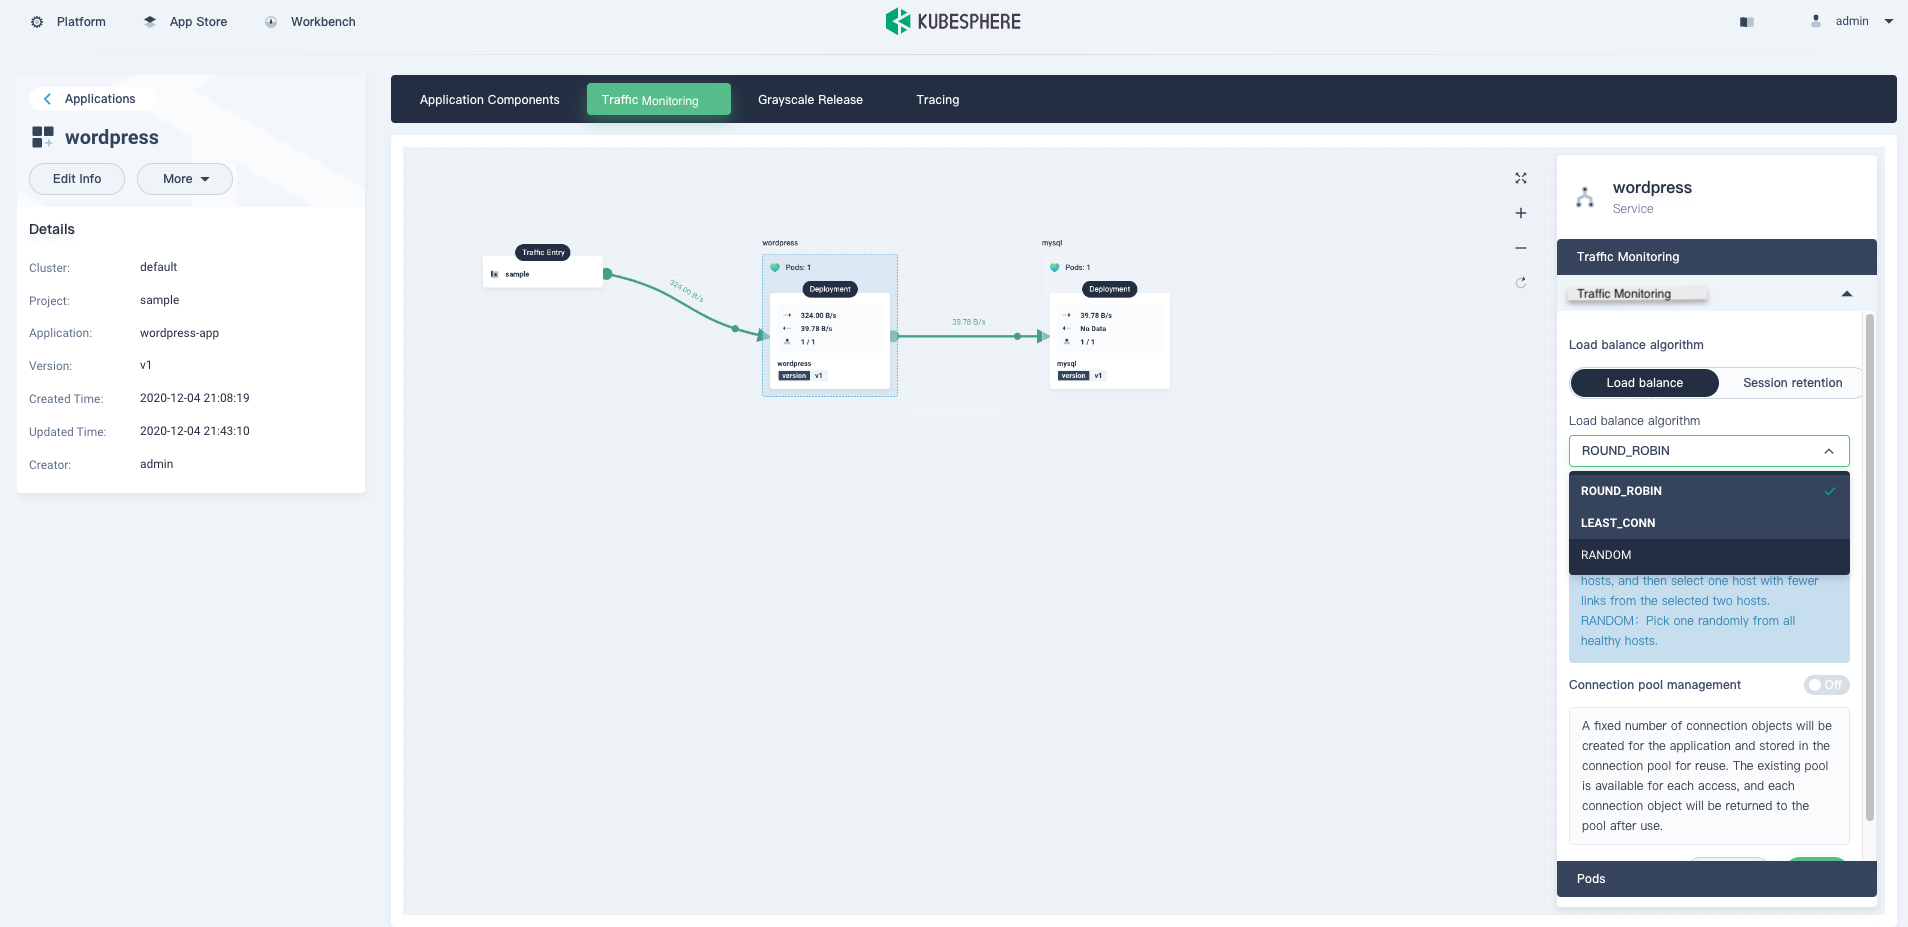
It can be found that the traffic has been visualized, and the data shows that the traffic flows properly.
Also, the grayscale release and tracing features function well.
Note that you need to enable the route feature before using the tracing feature.
Summary
We can successfully transform the application into microservices by performing the previous steps. As the transformation process is tedious, the KubeSphere team will continuously optimize this feature to make transformation easier.
Table of Contents
