


Deploy MeterSphere on KubeSphere
MeterSphere is an open-source, one-stop, and enterprise-level continuous testing platform. It features test tracking, interface testing, and performance testing.
This tutorial demonstrates how to deploy MeterSphere on KubeSphere.
Prerequisites
- You need to enable the OpenPitrix system.
- You need to create a workspace, a project, and two user accounts (
ws-adminandproject-regular) for this tutorial. The accountws-adminmust be granted the role ofworkspace-adminin the workspace, and the accountproject-regularmust be invited to the project with the role ofoperator. If they are not ready, refer to Create Workspaces, Projects, Users and Roles.
Hands-on Lab
Step 1: Add an app repository
-
Log in to KubeSphere as
ws-admin. In your workspace, go to App Repositories under App Management, and then click Add. -
In the dialog that appears, enter
meterspherefor the app repository name andhttps://charts.kubesphere.io/testfor the MeterSphere repository URL. Click Validate to verify the URL and you will see a green check mark next to the URL if it is available. Click OK to continue. -
Your repository displays in the list after it is successfully imported to KubeSphere.
Step 2: Deploy MeterSphere
-
Log out of KubeSphere and log back in as
project-regular. In your project, go to Apps under Application Workloads and click Create. -
In the dialog that appears, select From App Template.
-
Select
meterspherefrom the drop-down list, then click metersphere-chart. -
On the App Information tab and the Chart Files tab, you can view the default configuration from the console. Click Install to continue.
-
On the Basic Information page, you can view the app name, app version, and deployment location. Click Next to continue.
-
On the App Settings page, change the value of
imageTagfrommastertov1.6, and then click Install. -
Wait for MeterSphere to be up and running.
-
Go to Workloads, and you can see two Deployments and three StatefulSets created for MeterSphere.
Note
It may take a while before all the Deployments and StatefulSets are up and running.
Step 3: Access MeterSphere
-
Go to Services under Application Workloads, and you can see the MeterSphere Service and its type is set to
NodePortby default. -
You can access MeterSphere through
<NodeIP>:<NodePort>using the default account and password (admin/metersphere).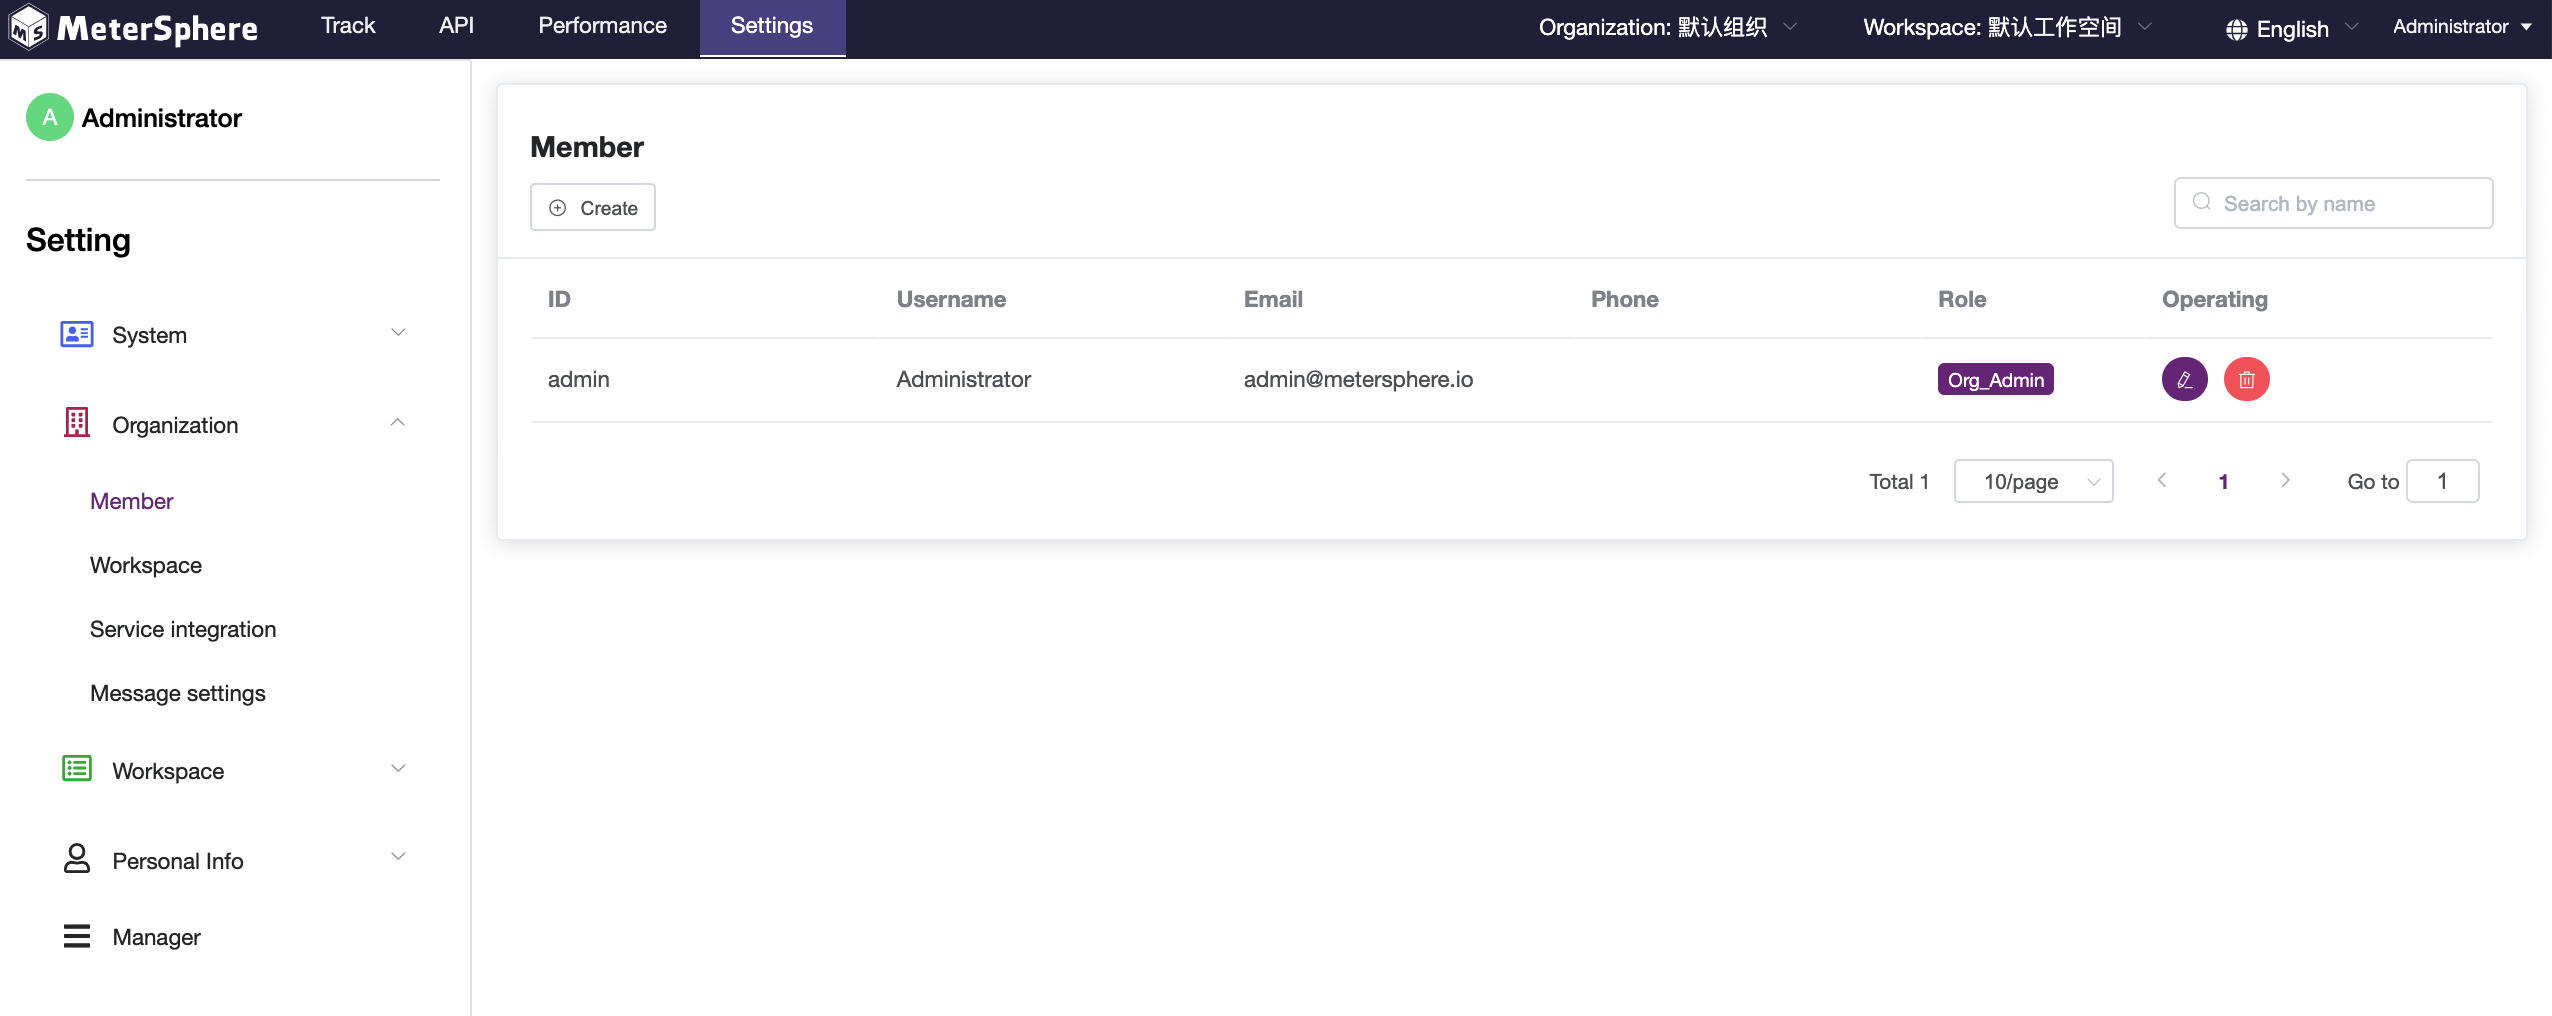
Note
You may need to open the port in your security groups and configure related port forwarding rules depending on where your Kubernetes cluster is deployed. Make sure you use your ownNodeIP.
Feedback
Was this page Helpful?
Receive the latest news, articles and updates from KubeSphere
Thanks for the feedback. If you have a specific question about how to use KubeSphere, ask it on Slack. Open an issue in the GitHub repo if you want to report a problem or suggest an improvement.
 Previous

What’s on this Page